
If you’ve ever found yourself facing a sluggish lawn mower just when you need it most, you’re not alone. Many homeowners encounter the hassle of a dead battery, especially during peak mowing seasons. A common question arises: can you charge a lawn mower battery with a car? This guide explores the practicality and safety of this method, empowering you to take control of your lawn maintenance. Understanding how to jump-start your mower can save you time and potential repair costs while ensuring your yard looks its best. Dive in to learn effective techniques, safety precautions, and the dos and don’ts of charging your mower’s battery with your car, so you can get back to enjoying a well-groomed lawn without unnecessary delays.
Understanding Lawn Mower Batteries and Charging Needs

Understanding the intricacies of lawn mower batteries and their charging needs is essential for ensuring your mower is always ready for the job. Lawn mower batteries typically use either lead-acid or lithium-ion technology, each with unique charging requirements and behaviors. Lead-acid batteries, commonly found in many older or lower-end mowers, require a trickle charge to maintain their longevity and efficiency. In contrast, lithium-ion batteries, which are increasingly used in modern equipment, have built-in protections and can tolerate faster charging. Understanding the type of battery you have is the first step towards proper maintenance.
When it comes to charging, many owners wonder if they can use their car to jump-start or charge their lawn mower battery. While it’s technically possible, there are important considerations to keep in mind. Car batteries provide a higher voltage and can deliver significant power quickly, which might overwhelm a small lawn mower battery if not managed carefully. This is particularly risky with lead-acid batteries, which can be damaged by overcharging. Therefore, using a dedicated charger designed for lawn mower batteries is often the safest and most effective choice.
To ensure optimal performance and safety, it’s crucial to follow the specific charging instructions provided by the battery manufacturer. Always check the voltage specifications and use appropriate connectors to prevent any risk of short-circuiting. Remember, a well-maintained battery not only extends the life of your equipment but also enhances the efficiency of your mowing tasks. Consider regular checks on your battery’s health and charging status, as early detection of issues can save costly repairs or replacements down the line.
Can You Safely Charge a Lawn Mower Battery with a Car?
Charging a lawn mower battery using a car may seem like a convenient option when your mower is out of power. However, it’s crucial to understand the differences in battery systems and the potential risks involved. Car batteries provide a higher voltage and are built to deliver significant power quickly-but this can be too much for a lawn mower battery, which is designed to operate at lower voltages. Such a mismatch can lead to overcharging or even damage if not performed carefully.
To safely charge a lawn mower battery with a car, consider the following guidelines and precautions. First, always confirm the voltage of both batteries. Most lawn mower batteries operate at 12 volts, similar to many car batteries, but differences in amperage can pose a risk. If you choose this method, use jumper cables and attach them correctly: the positive terminal (red) of the mower battery should connect to the positive terminal of the car battery, and the same applies for the negative terminals (black). It’s wise to use a slower connection method, such as starting the car with the mower battery connected but without revving the engine, which can help prevent power surges.
It’s best to avoid regularly charging your lawn mower battery with a car battery unless it’s an emergency. Using a dedicated charger is always recommended due to its ability to provide the correct amount of current safely. These chargers come equipped with settings specifically for different battery types, whether lead-acid or lithium-ion, ensuring that your battery is charged correctly without the risk of over- or under-charging. Furthermore, properly maintaining battery health through regular checks can enhance longevity and performance, ultimately saving time and money in the long run.
In summary, while charging a lawn mower battery with a car is possible under certain conditions, prioritizing safety and using the appropriate tools is key to preserving the life and efficiency of your mower. Always consult your battery’s manufacturer guidelines and consider opting for dedicated charging equipment for the best results.
Step-by-Step Guide to Charging a Lawn Mower Battery
Charging your lawn mower battery may seem like a daunting task, especially if you’re considering using a car battery as a power source. However, understanding the correct procedures can make this process straightforward and safe. Here’s a step-by-step guide to help you effectively charge your lawn mower battery using a car, ensuring you do it correctly to avoid potential damage.
1. Gather Your Tools
Start by ensuring you have all necessary tools at hand before you begin. You will need:
- A set of jumper cables
- A voltmeter (optional, for checking battery voltage)
- Your lawn mower and car with compatible battery types
2. Prepare the Batteries
Before making any connections, inspect both batteries for any signs of damage, corrosion, or leaks. Make sure the lawn mower is turned off, and remove any dirt or debris from both battery terminals to ensure a good connection.
3. Connect the Jumper Cables
When connecting jumper cables, the order is crucial for safety:
- Attach one end of the red (positive) jumper cable to the positive terminal of the lawn mower battery.
- Connect the other end of the red cable to the positive terminal of the car battery.
- Attach one end of the black (negative) jumper cable to the negative terminal of the car battery.
- Finally, attach the other end of the black cable to an unpainted metal surface on the lawn mower (this helps ground the connection).
4. Start the Car
With the connections in place, start the car. Allow the engine to run for a few minutes to let the car battery charge the lawn mower battery. Avoid revving the car engine, as this can create power surges that may damage the lawn mower battery.
5. Check Your Progress
Using a voltmeter, you can monitor the voltage of the lawn mower battery after a few minutes. A fully charged 12-volt battery should read around 12.6 volts. If it reads significantly lower, it may need more time to charge.
6. Disconnect the Cables
After charging, carefully remove the jumper cables in reverse order:
- First, remove the black cable from the lawn mower.
- Then, disconnect the black cable from the car battery.
- Next, take off the red cable from the car battery.
- Finally, remove the red cable from the lawn mower battery.
7. Test Your Lawn Mower
Turn on your lawn mower to see if it starts properly. If it does, the charging was successful. If not, you may need to consider battery replacement or professional assistance.
Using this step-by-step method allows you to harness the power of your car battery safely while minimizing risks. Always keep safety at the forefront by following proper procedures, and remember that dedicated battery chargers are often the best long-term solution for sustaining your lawn mower battery’s health.
Essential Safety Precautions When Charging Batteries
When charging batteries, particularly when using a car battery to charge a lawn mower battery, safety should always be your top priority. Mishandling a battery can lead to accidents, potentially causing damage to the equipment or even personal injury. Start by ensuring that the area where you are working is well-ventilated and free from flammable materials. Batteries can emit gases that are hazardous, especially when under load or being charged.
Before you connect any cables, it’s essential to wear protective gear, including gloves and safety goggles. This protects you from possible acid spills or accidental sparks that may occur during the connection process. Additionally, double-check that both the car and the lawn mower are turned off to prevent electrical surges that could damage either battery. It’s also vital to inspect both batteries for any visible damage, leaks, or corrosion, as these issues could pose serious risks when attempting to charge.
When connecting the jumper cables, always follow the correct sequence to minimize the risk of short circuits. Connecting cables in the wrong order can cause sparks or damage the batteries. Always connect the positive (+) terminals first, followed by the negative (-) terminal to a grounded metal part of the lawn mower, not directly to the negative terminal of the mower’s battery. This step helps reduce the risk of a spark that could ignite gases from the battery.
Lastly, once the batteries are connected and charging, keep an eye on the connections. Never leave the batteries unattended while they are charging, and disconnect them promptly after charging to prevent overheating or other issues. By keeping these essential safety precautions in mind, you can effectively and safely charge your lawn mower battery using a car battery.
Tools Needed for Charging a Lawn Mower Battery
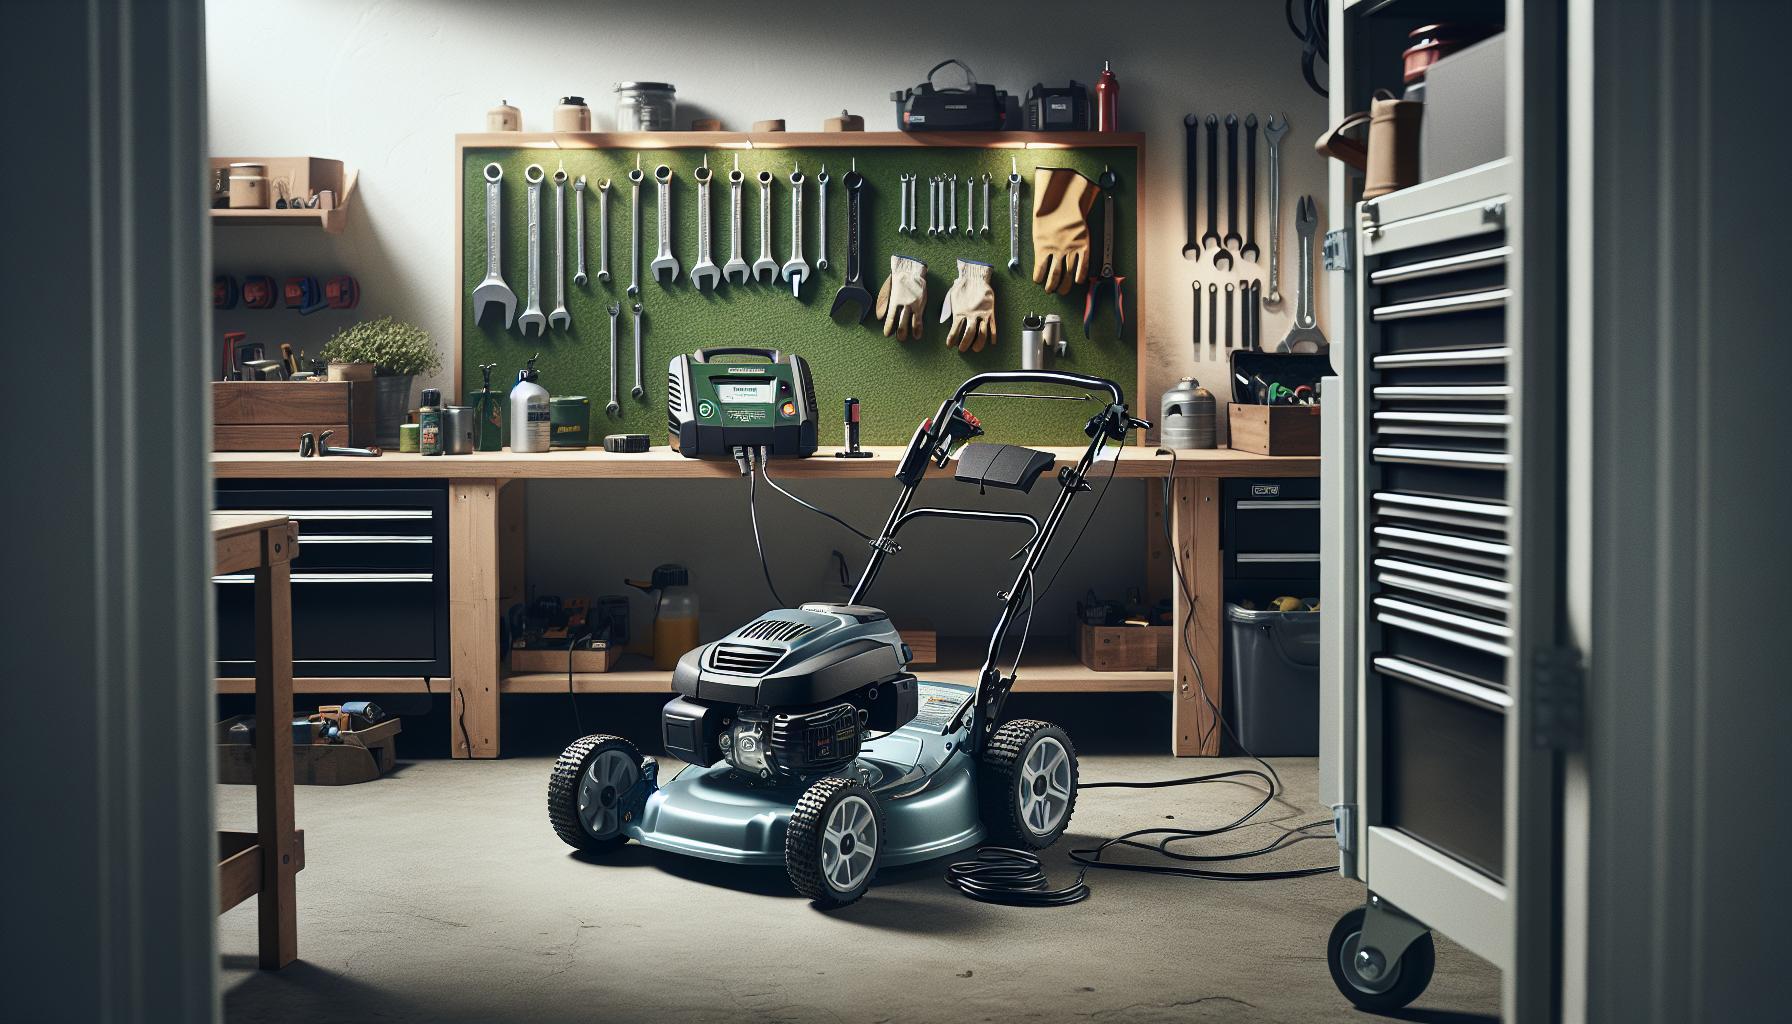
To successfully charge a lawn mower battery using a car battery, it’s essential to have the right tools on hand to ensure safety and efficiency. Preparing ahead with the necessary equipment not only streamlines the process but also minimizes the risk of mistakes that could lead to damage or injury.
Start with a set of jumper cables; these are crucial for connecting the car battery to the lawn mower’s battery. Choose heavy-duty cables with adequate insulation to handle the current without overheating. Next, you’ll need safety gear, including gloves and safety goggles. This protective equipment will shield you from acid spills and flying sparks, which can occur during the connection process.
A multimeter is another handy tool to have, as it allows you to check the voltage of both batteries, ensuring they are compatible for charging. This device can prevent you from attempting to charge a dead or mismatched battery, following the principle that a good charge begins with good connections. If you’re uncertain about the battery’s condition, using a battery tester can provide additional insight into its health.
Lastly, a wrench may be necessary to loosen and tighten terminal connections, especially if you need to disconnect any terminals for inspection or cleaning purposes. Ensure you also have a clean rag or cloth available to wipe away any corrosion present on the battery terminals before making connections. Having these tools ready will help facilitate a safe and effective battery charging experience.
How to Determine Battery Compatibility with Your Car

Determining the compatibility of a lawn mower battery with your car is crucial for safe and effective charging. It’s essential to check both the voltage and battery type before attempting to connect the two. Most lawn mower batteries are either 6-volt or 12-volt, similar to many automotive batteries. However, not all car batteries are the same; most vehicles use 12-volt systems, which means you can typically charge a 12-volt lawn mower battery straight from your car. If your mower operates on a 6-volt battery, connecting it to a 12-volt car battery directly can result in damage or even create a hazardous situation.
To ensure compatibility, follow these practical steps:
- Check Voltage Ratings: Use a multimeter to measure the voltage of the lawn mower battery. Confirm it matches the car battery’s voltage-if both are 12 volts, you can proceed. For 6-volt mower batteries, consider using a voltage reducer or a step-down transformer if charging from a 12-volt source.
- Understand Battery Chemistry: Know the battery types involved. Lawn mowers may use lead-acid (typically flooded or sealed) batteries, which can be charged with car batteries. Ensure that both batteries share the same chemistry for safe charging.
- Examine Physical Connections: Ensure the terminals of both batteries are compatible (positive to positive, negative to negative) and check for any physical obstructions or corroded terminals that may hinder a proper connection.
If you’re unsure about compatibility, refer to the lawn mower’s user manual, which usually provides the specifications for the battery. Knowing the specifications will guide you in selecting the appropriate charging method, thereby preventing potential damage to both the lawn mower and your vehicle. Additionally, if compatibility issues arise, consider purchasing a dedicated battery charger specifically designed for your lawn mower’s battery type to ensure its longevity and proper functioning.
Alternative Methods for Charging Lawn Mower Batteries
For those who find themselves in a situation where charging a lawn mower battery with a car isn’t feasible or safe, there are several alternative methods that can effectively recharge your mower’s battery. One popular option is to use a dedicated battery charger designed specifically for lawn mower batteries. This is often the safest and most reliable way to ensure your battery is charged properly without the risk of overcharging or damaging the battery. These chargers usually come with multiple settings that can accommodate various battery types (such as lead-acid and AGM), making them versatile for different mowing machines.
Another alternative is utilizing a solar battery charger. This eco-friendly option allows you to harness the sun’s energy to recharge your battery. While the charging process may take longer than traditional methods, especially during cloudy days, solar chargers are perfect for maintaining battery charge over long periods, particularly if your mower is stored outside. Simply connect the solar charger to your battery, ensuring it is positioned to receive maximum sunlight.
If you’re in a pinch and have access to another compatible battery, you might consider jump-starting the lawn mower battery with jumper cables. Just like with a car, connect the cables from the charged battery to the mower battery, ensuring the positive and negative connections are correct. This method is temporary but can provide enough charge to get your mower running until you can use a more permanent solution.
Lastly, for those with a bit of technical expertise, DIY battery maintenance practices can extend the life of a lawn mower battery. Regularly checking the electrolyte levels in lead-acid batteries and using distilled water to refill them can enhance performance. Additionally, applying a light coat of grease to the terminals can help prevent corrosion, ensuring better conductivity and an easier charging process next time.
Remember, each method has its pros and cons, and choosing the right one will depend on your specific circumstances, including battery compatibility, available tools, and personal preference.
Common Charging Mistakes and How to Avoid Them
Charging a lawn mower battery, particularly with the assistance of a car, can seem straightforward, but several common mistakes can lead to significant issues. Understanding these pitfalls is essential for ensuring efficiency and safety during the charging process. For instance, one prevalent mistake is failing to match the voltage of the car battery with that of the lawn mower battery. Most lawn mower batteries operate at 12 volts, just like standard car batteries, but it’s crucial to verify this before connection to avoid damaging either battery.
Another frequent error is not ensuring proper connections. Incorrectly attaching the jumper cables can cause a short circuit, potentially leading to battery explosion or damage. When connecting, always ensure that the positive terminal (usually marked in red) is connected first, followed by the negative terminal (typically marked in black). Additionally, disconnect in the reverse order-negative first, then positive-to minimize the risk of sparks.
Some users also overlook the necessity of checking their battery’s condition before attempting to charge it. If the battery is severely sulfated or has a damaged casing, charging may be ineffective or hazardous. Regularly inspecting the battery for cracks, leaks, or corrosion at the terminals can save time and resources. If the battery shows any signs of distress, it may be more prudent to consider a replacement rather than attempting a charge.
Finally, overcharging is a common mistake, especially when using a car to jump-start the mower’s battery. This can lead to overheating and reduced battery lifespan. It’s beneficial to keep track of charging times and, if using a car, disconnect the cables as soon as the mower starts. Emphasizing these critical considerations can not only enhance safety but can ensure a more effective charging experience for your lawn mower battery.
### Summary of Common Charging Mistakes
- Incorrect Voltage Matching: Ensure both batteries are compatible.
- Improper Connections: Always connect positive first; check for proper grounding.
- Ignoring Battery Condition: Inspect for damage before charging.
- Overcharging: Monitor charging duration to avoid battery damage.
Signs Your Lawn Mower Battery Needs Replacement
Understanding when your lawn mower battery needs replacement can save you time and frustration in the long run. A healthy battery plays a crucial role in ensuring your mower starts reliably, especially during peak mowing season. However, several telltale signs can indicate that the time has come to replace your battery rather than simply charging it.
One of the most noticeable signs is the battery’s age. Most lawn mower batteries have a lifespan of about three to five years. If your battery is approaching or has surpassed this age, it’s worth considering a replacement, even if it seems to work intermittently. Another key indicator is difficulty starting your mower; if you find yourself repeatedly attempting to start it before it finally fires up, the battery’s ability to hold a charge may be diminishing.
Other signs to watch out for include physical symptoms like corrosion around the terminals, significant swelling of the battery casing, or any visible leaks. These physical conditions can severely compromise battery performance and safety. Regularly inspecting your battery for these issues can help with timely replacements before you encounter a total failure.
Lastly, if you’ve attempted to charge your battery but the mower still struggles to start, it’s likely your battery is no longer functional. In such cases, investing in a new battery can save you from ongoing inconvenience, ensuring smoother operation when you’re ready to mow.
By being vigilant about these signs, you can maintain the efficiency of your lawn care routine and avoid the disappointment of unexpected machinery failures.
### Key Signs Your Battery Might Need Replacement
- Age: Battery is over three to five years old.
- Difficult Starts: Mower requires multiple attempts to start.
- Corrosion: Visible corrosion around terminals.
- Physical Damage: Swelling or leaks from the battery casing.
- Ineffective Charging: Battery fails to hold charge after attempts to recharge.
Maintaining Your Lawn Mower Battery for Longevity
To ensure your lawn mower battery remains healthy and lasts longer, implementing a few simple maintenance strategies can make all the difference. A well-maintained battery will enhance mower performance, reduce the frequency of replacements, and ultimately save you money in the long run.
Regularly checking the battery’s terminals is essential. Clean terminals prevent corrosion, which can interfere with electrical connections and lead to starting problems. Use a mixture of baking soda and water to clean corrosion off the terminals, scrubbing gently with a brush to avoid damage. After cleaning, make sure the terminals are securely connected; loose connections can cause intermittent electrical issues.
In addition, keep the battery charged between uses. If your mower is not used regularly, it’s advisable to charge the battery every few weeks to maintain its capacity. Many experts recommend using a smart charger that can automatically regulate the power supply, ensuring the battery is not overcharged. This is especially important if you’re considering charging your lawn mower battery with a car, as it’s critical to monitor voltage levels to avoid damaging either battery.
Lastly, store your lawn mower battery properly, especially during off-seasons. Keep it in a cool, dry location and remove it from the mower if left unused for an extended time. Placing the battery on a wood or rubber surface can avoid contact with dampness, which can compromise its integrity. Regular maintenance, proper storage, and charging practices will ensure your lawn mower battery remains reliable and efficient throughout its lifespan.
Expert Tips for Efficient Battery Charging Practices
Setting the right conditions for charging your lawn mower battery can greatly enhance both performance and longevity. Engaging in safe and efficient charging practices not only preserves the battery’s health but also prevents potential damage to both your mower and your vehicle should you decide to charge it using a car.
One of the first key strategies is to ensure proper compatibility between the lawn mower battery and the car you plan to use for charging. Generally, lawn mower batteries are 12-volt lead-acid batteries, similar to car batteries. However, it’s crucial to verify this specification in your owner’s manuals. Additionally, be mindful of the current (amperage) levels; mower batteries typically require lower currents for charging, so using a trickle charger or a smart charger is highly recommended. This way, you avoid overwhelming the battery, which can lead to overheating or irreversible damage.
When setting up for charging, always connect the positive terminal first, followed by the negative terminal, and reverse this order when disconnecting. This simple rule of thumb minimizes the risk of sparks that can occur if the terminals are connected in the wrong sequence. Before starting the charging process, double-check that all connections are secure and that there is no corrosion on the battery terminals. Using a mixture of baking soda and water can effectively clean any unwanted deposits that may cause poor connectivity.
Finally, timing the charging process is essential. Avoid leaving the lawn mower battery charging unattended for extended periods, as it can lead to overcharging. If you’re using a vehicle to charge, check the battery voltage frequently. A sudden spike can mean the mower battery is fully charged, and at that point, it should be disconnected immediately to prevent damage. Regular checks and good practices not only guarantee a smooth charging session but also extend your lawn mower battery’s life significantly.
Frequently Asked Questions
Q: How long does it take to charge a lawn mower battery with a car?
A: Charging a lawn mower battery with a car typically takes about 1 to 3 hours, depending on the battery’s capacity and the condition of both the lawn mower and car battery. For best results, monitor the charge process and follow the steps outlined in the step-by-step guide of your article.
Q: What is the voltage of a typical lawn mower battery compared to a car battery?
A: A typical lawn mower battery usually operates at 12 volts, similar to most car batteries. However, always check the specifications of your lawn mower battery to ensure compatibility before charging.
Q: Can you jump-start a lawn mower battery with a car?
A: Yes, you can jump-start a lawn mower battery with a car using jumper cables. Attach the cables correctly and ensure both vehicles are turned off when making connections to avoid electrical issues.
Q: Are there specific precautions to take when charging a lawn mower battery with a car?
A: Yes, always wear safety glasses and gloves, avoid flammable materials, and ensure the car is off while connecting cables. Refer to your article’s section on essential safety precautions for detailed guidance.
Q: What are the consequences of charging a lawn mower battery incorrectly?
A: Incorrect charging can lead to battery damage, leaks, or even explosions. Following the safe guide in your article and avoiding common mistakes will help prevent such issues.
Q: Is it safe to use a car charger on a lawn mower battery?
A: Generally, it is safe to use a car charger on a lawn mower battery if the voltage matches. Always consult the specifications of both batteries to avoid damage. For more details, see the section on battery compatibility.
Q: What tools do you need to charge a lawn mower battery with a car?
A: To charge a lawn mower battery with a car, you generally need jumper cables and potentially a multimeter to check voltage levels. Review the “Tools Needed for Charging a Lawn Mower Battery” section of your article for a complete list.
Q: How can I tell if my lawn mower battery is still good after charging?
A: After charging, test the lawn mower battery with a multimeter for a voltage reading above 12.4 volts, indicating it’s in good condition. Additionally, refer to the article for signs your battery needs replacement to ensure longevity.
In Retrospect
Now that you understand how to safely charge a lawn mower battery with your car, it’s time to take action and ensure your equipment is always ready for your lawn care needs. Remember, proper maintenance not only extends the life of your tools but also enhances your overall mowing experience. If you still have questions or concerns, check out our detailed guides on battery maintenance and lawn care tips to broaden your knowledge.
Don’t hesitate to explore more of our resources-subscribe to our newsletter for the latest tips and expert advice, or visit our product recommendations page for quality lawn care equipment. Your yard deserves the best, and with the right knowledge and tools, you can achieve a lush, beautiful lawn. Feel free to leave a comment below or share your own experiences; we love hearing from our community!