Did you know that a broken pull cord is one of the most common issues lawn mower owners face? When this happens, you might find yourself frustrated, unable to start your mower just when you need it most. Fortunately, replacing a lawn mower’s pull cord is a straightforward task that can be completed in just 15 minutes, saving you both time and money. Whether you’re a seasoned DIYer or a first-time fixer, this guide will walk you through each step, ensuring you can get your mower back in action quickly. No one wants to deal with the hassle of a stubborn mower, so let’s dive into how you can swiftly restore its functionality and enjoy a smoothly manicured lawn once again.
Understanding the Pull Cord Mechanism of Lawn Mowers

The pull cord mechanism of a lawn mower is an essential component that enables the starting of the engine, acting as a bridge between the user and the machine’s power. When you yank the pull cord, it engages a recoil starter that uses a spring-loaded system to rewind the cord while simultaneously engaging the engine’s flywheel. This mechanical action creates a spark igniting the fuel within the engine, allowing it to roar to life. Understanding this mechanism not only aids in operational knowledge but is crucial for troubleshooting common issues, such as a non-retracting cord or a broken recoil spring.
At the core of the pull cord system lies the recoil starter. This assembly consists of a pulley, which is typically fitted with a spring that retracts the cord after it has been pulled. When the cord is pulled, the pulley spins, and the engine is engaged until the cord is fully extended. Most modern lawn mowers use a two-piece assembly where the cord is affixed to the handle of the mower and the pulley is attached to the recoil mechanism, enabling effective energy transfer during the starting process. The material and length of the pull cord also matter; most are made from durable nylon or polyester, designed to withstand repeated stress while remaining lightweight.
In regular usage, factors like environmental wear, fraying, or improper storage can lead to deterioration of the pull cord. Regular inspection is recommended, as it allows users to spot potential issues early, preventing complete failure of the starting mechanism. Knowing how this mechanism works not only assists in performing routine maintenance, such as replacing a worn-out pull cord, but also empowers users to take immediate action when problems arise, ensuring a smooth mowing experience without the frustration of machine failure.
Essential Tools for Replacing a Lawn Mower Pull Cord
Replacing a lawn mower pull cord may seem daunting to the uninitiated, but with the right tools in hand, you can tackle the task efficiently and confidently. Having the necessary equipment not only simplifies the process, it can save you time and prevent potential headaches once you’re knee-deep in the replacement procedure. Here’s what you’ll need to ensure a smooth operation.
First and foremost, screwdrivers are essential. You’ll typically require both Phillips and flathead types to remove the casing that houses the recoil starter. Pliers can also come in handy, particularly for gripping and manipulating tight components or cutting the old cord. A small utility knife or scissors is crucial for cutting the new pull cord to the correct length and ensuring clean, even edges.
Additionally, having a measuring tape on hand allows you to measure the length of the old cord accurately to ensure that the new cord is cut perfectly. For those looking to avoid common pitfalls, a magnet or small container for screws can prevent them from getting lost during the disassembly process. Lastly, a work surface that is clear and organized enhances your efficiency, ensuring that you place parts safely while you work.
By gathering these essential tools before you begin the replacement process, you set yourself up for success. Not only will you be able to complete the job faster, but you will also reduce the likelihood of frustrations cropping up mid-task. With your gear ready, you’ll be all set to do the job right, and perhaps even master the replacement technique in just 15 minutes.
Step-by-Step Guide to Changing the Pull Cord
Changing the pull cord on your lawn mower can restore its ease of use and ensure hassle-free starts. This task can be completed in about 15 minutes with the right approach and care. Here’s a straightforward guide to help you tackle this essential lawn mower maintenance step without breaking a sweat.
Start by disconnecting the spark plug wire to prevent any accidental starts while you work. Lay the mower on its side and ensure you are working on a stable surface. You will first need to remove the cover that protects the recoil starter. Use a screwdriver to take out the screws holding the cover in place, and carefully lift it off to expose the recoil mechanism.
Once you gain access, check the old pull cord. If it’s frayed or broken, you’ll need to remove the entire recoil starter. This usually involves unscrewing a few additional screws. After removing the recoil starter, take note of how the old cord is wound around the pulley. Remove the old cord by cutting it off at both ends. When replacing it, measure out a new cord of similar length, ensuring it’s appropriate for your mower model.
Before securing the new cord, wind it counterclockwise around the pulley, making sure to keep a bit of tension. Insert one end of the new cord through the hole in the recoil starter, tying a secure knot on the inside. Pull the cord taut, ensuring it coiled correctly, then replace the recoil starter and its cover. Finish by reconnecting the spark plug wire and performing a test pull to ensure everything functions correctly.
This quick process not only saves you money compared to professional repairs, but it also equips you with maintenance skills that enhance your lawn care capabilities. Keeping your pulling mechanism in top condition will make mowing easier and more enjoyable.
Common Mistakes to Avoid When Replacing Pull Cords

Replacing a lawn mower pull cord can seem straightforward, but several common mistakes could lead to a frustrating experience or even damage the mower. Being aware of these pitfalls can save you time and ensure that your new pull cord functions efficiently from the get-go.
One of the most common errors is not winding the new cord correctly around the pulley. If the pull cord is wound in the wrong direction, the recoil mechanism will not operate properly, making it difficult to start the mower. When winding the new cord, ensure it is positioned counterclockwise on the pulley and maintains tension to avoid slack that could lead to further issues.
Another frequent mistake involves not double-checking the specifications of the new cord. Each lawn mower model may require a different length or thickness of pull cord. Failing to match these specifications can result in a pull cord that is either too short to provide adequate leverage or too thick to fit into the starter assembly. Always consult your mower’s manual for the correct dimensions before making a purchase.
Finally, neglecting to secure the recoil starter properly after replacement can lead to further complications. Make sure to fasten all screws securely without overtightening, which could strip the threads or break the plastic housing. Taking the extra time to inspect your work before reassembling can help avoid future mechanical frustrations.
By being aware of these common mistakes, you’ll be better prepared to execute a smooth and efficient pull cord replacement. This proactive approach not only enhances your mower’s performance but also builds your confidence in tackling future maintenance tasks.
How to Choose the Right Pull Cord for Your Lawn Mower
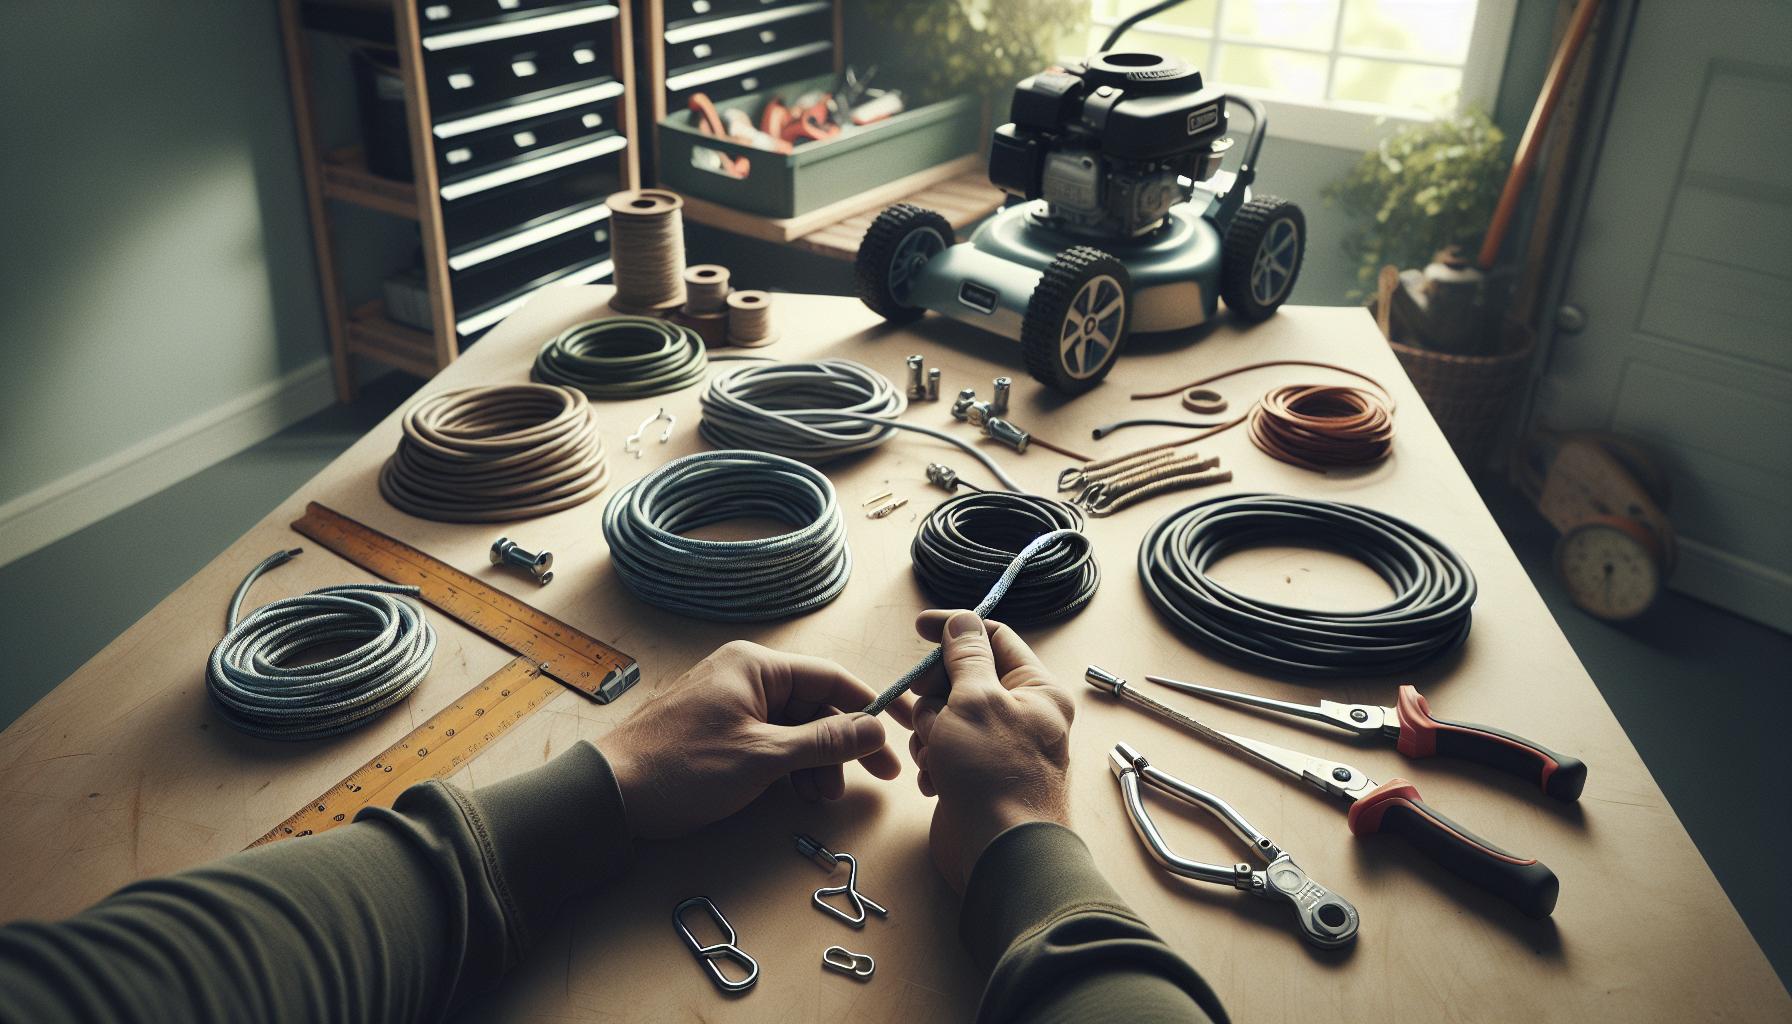
Choosing the right pull cord for your lawn mower is critical for ensuring that your machine starts smoothly and operates effectively. A pull cord typically varies in length, thickness, and material based on the specific model and manufacturer of the mower. Thus, taking the time to select the correct cord can prevent unnecessary frustrations and repairs down the line.
To start, refer to your lawn mower’s manual, which usually contains specifications for required pull cord dimensions. Most manuals will specify the cord’s diameter, which typically ranges between 3mm to 5mm, and the length, which can vary between models. Selecting a cord that is too thick might lead to complications when threading the cord through the recoil assembly, while a cord that is too thin may not withstand the pulling force and could snap under strain.
When choosing a replacement cord, consider the material composition. Nylon is commonly used due to its superior durability and resistance to fraying. Some users might opt for polyester cords, as they also provide decent durability and resistance to weather conditions. Additionally, it’s beneficial to purchase a cord that features a textured surface, which can enhance grip and reduce the chances of slipping during use.
Lastly, it’s crucial to understand the specific requirements of your mower’s recoil starter system. Some mower engines might have unique designs that necessitate specific types of installation or cord characteristics. If possible, compare potential cords with the original one for exact matches in length and thickness. If you’re unsure about a particular cord’s compatibility, many retailers provide customer service for inquiries or offer return policies should a discrepancy arise after purchase. Taking these steps will ensure that your new pull cord meets the demands of your lawn mower’s starting mechanism and enhances its overall performance.
Tips for Maintaining Your Lawn Mower Pull Cord
Maintaining the pull cord on your lawn mower is essential for ensuring reliable starting and performance. A well-cared-for pull cord not only prolongs the life of your mower but also minimizes the chances of unexpected breakdowns. Regular maintenance can be as straightforward as incorporating a few smart habits into your mowing routine.
To begin with, always keep an eye on the pull cord’s condition. Look for signs of fraying, cracking, or any noticeable wear, particularly around the handle and where it enters the recoil starter. If you notice any issues, it’s wise to address them before they lead to a complete failure. Additionally, apply a small amount of lubricant to the cord and the recoil mechanism periodically. This not only reduces friction but also helps prevent moisture accumulation, which can cause rust or corrosion in the recoil assembly.
Another key aspect of maintenance is storing your mower correctly. If you’re using gas mowers, empty the fuel tank or add a fuel stabilizer before winter storage. Ethanol in gasoline can attract moisture, which might end up damaging the pull cord and related components over time. During off-seasons, protect the mower from environmental factors by keeping it in a dry, safe place.
Finally, regularly inspect the entire starting mechanism for any debris or dirt build-up. Cleaning the area around the pull cord and ensuring that there is no obstruction can help maintain its smooth operation. Keeping the pull cord area clean not only helps in easy starting but also extends the life of the entire mechanism. By integrating these maintenance tips into your routine, you can ensure your lawn mower remains in peak condition, making your seasonal tasks much smoother and more efficient.
Identifying When a Pull Cord Needs Replacement
Determining when to replace the pull cord on your lawn mower can be crucial for maintaining its performance. A frayed or damaged pull cord not only makes starting the mower difficult but can also poses a risk of breaking entirely, leaving you stranded mid-mow. One key indicator that a replacement is necessary is visible wear and tear, particularly at stress points such as the handle and where the cord enters the recoil starter. If you notice any fraying, cracks, or if the cord appears to be unraveling, it’s time to take action.
Another critical sign is the cord’s retraction behavior. If the cord does not retract smoothly back into the starter assembly, it may be a symptom of internal damage or improper setup. You should also monitor the ease with which the cord pulls; if it feels excessively stiff or resists being pulled, this could indicate that the internal recoil spring has weakened or that there are obstructions in the assembly. In these cases, addressing the issue sooner rather than later can prevent more costly repairs down the line.
When you’re starting the mower, pay attention to how the pull cord performs under load. If you find yourself yanking the cord multiple times before it starts, this is a telltale sign of a potentially failing cord or recoil mechanism. Additionally, any unusual sounds-such as grinding or clicking-when pulling the cord can suggest mechanical issues that should be investigated promptly.
Finally, if your mower experiences frequent starting issues that seem unrelated to fuel or electrical problems, there’s a good chance the pull cord is in need of replacement. By staying attuned to these symptoms, you can save yourself from a frustrating mowing experience and ensure your lawn mower is ready to go when you need it.
Troubleshooting Pull Cord Issues After Replacement
After successfully replacing a lawn mower pull cord, it’s essential to monitor its functionality closely. Issues may arise even after a seemingly flawless installation, and addressing these problems promptly can save you from further inconvenience. If your pull cord does not retract smoothly or feels snagged, it’s vital to investigate the cause. This can stem from improper alignment during installation or debris obstructing the recoil mechanism. Begin by verifying that the cord is correctly threaded through the guide and that the recoil spring is functioning properly.
When you test the mower after replacing the pull cord, listen for any unusual noises-like grinding or clicking sounds-that could indicate a misalignment or internal damage. These sounds often suggest that the mechanism isn’t fully engaged or that the recoil assembly is not set correctly. In some cases, checking the pull cord’s tension can reveal whether it is too tight or loose, impacting performance. If the cord feels excessively stiff, the internal spring may not have been reset correctly after replacement.
It’s also wise to observe the starting behavior of your mower. If you find yourself pulling the cord multiple times before the engine fires up, this could signal issues with the pull cord or the recoil starter mechanism rather than a failing engine. To troubleshoot this, ensure that all components are properly seated and that there are no obstructions preventing smooth operation. A common error is neglecting to check for air leaks or fuel flow problems, which can mimic pull cord issues.
Lastly, keep a toolbox handy with the essential tools required for minor adjustments. A Phillips screwdriver, socket set, and pliers can aid in tightening or realigning parts as necessary. Regular maintenance of the pull cord-such as lubrication of the pulley and inspection for fraying-can prolong its life and optimize mower performance. By being proactive in your troubleshooting, you ensure your lawn mower remains a reliable partner for all your mowing needs.
Cost Comparison: DIY vs. Professional Pull Cord Replacement
Choosing between replacing a lawn mower pull cord yourself or hiring a professional can significantly impact your wallet, so it’s essential to weigh your options carefully. While DIY repairs can be rewarding and cost-effective, they do come with considerations that may not be as straightforward as they seem.
For those willing to roll up their sleeves, the cost of a DIY pull cord replacement is typically quite low. Generally, replacement pull cords can be found online for around $10 to $20, depending on quality and compatibility. Additionally, if you already have basic hand tools like screwdrivers and pliers, you will not incur any additional costs. Most DIY enthusiasts can complete the replacement in about 15 minutes, which makes this a quick and satisfying task. Not only do you save money, but you also gain the satisfaction of having done the work yourself.
On the other hand, if you’re considering a professional service, the expenses can escalate quickly. Depending on the labor rates in your area, hiring a professional might cost you between $50 to $100 for just a pull cord replacement. This price often factors in not only labor but also any diagnostic fees should there be additional issues with the mower. Though taking the professional route guarantees a certain level of expertise, your mower’s reliability might be compromised if the same level of care isn’t taken as by a dedicated owner.
When deciding, consider both your comfort level with mechanics and your budget. If you have the time and inclination to learn, then a DIY approach might be the best way to go. However, if your mower has other issues, or if you’re pressed for time, hiring a professional could save you hassle in the long run. Ultimately, the choice lies in your priorities-do you prefer the satisfaction of self-sufficiency or the peace of mind that comes with professional service? Making an informed decision will ensure that your lawn mower continues to run smoothly without breaking the bank.
Frequently Overlooked Lawn Mower Maintenance Tips
Maintaining your lawn mower goes beyond just changing the pull cord; there are several crucial aspects that can significantly affect its performance and longevity. Lawn mower care is often overlooked, leading to costly repairs or even the need for a completely new machine. Proper maintenance, when followed consistently, can help prevent most issues that arise during the mowing season.
One of the most basic yet vital maintenance tasks is regularly checking and changing the oil. Just like any other machine, a lawn mower requires clean oil to function efficiently. Contaminated oil can lead to engine wear and reduced effectiveness. It’s recommended to change the oil after every 25 hours of operation or at least once per mowing season. This simple task can extend the life of your mower significantly.
Additionally, don’t forget to inspect and clean or replace the air filter. A blocked or dirty air filter can starve the engine of air, leading to poor performance or starting issues. Depending on your mower type, you may have either a foam or paper air filter. Cleaning a foam filter with soap and water or replacing a paper filter is quick and can dramatically improve air intake, resulting in a smoother running engine.
Another frequently neglected aspect is the mower blades. Dull blades tear grass instead of cutting it cleanly, which can lead to a brown-tipped lawn. It’s best to sharpen the blades after every 20 to 25 hours of use. This task can be easily done with a bench grinder or files; just ensure safety precautions are in place. Keeping the blades sharp not only promotes a healthy lawn but also reduces the strain on the engine, thus prolonging its life.
Lastly, ensure to clean the mower deck regularly. Grass clippings and debris accumulation under the deck can cause corrosion or affect performance. After each use, inspect and clear out any leftover clippings; this simple step can help prevent rust and other damaging factors.
By focusing on these often-overlooked maintenance tips, you’ll not only enhance your mower’s performance but also encourage a longer lifespan, minimizing the likelihood of needing a pull cord replacement before its time.
Faq
Q: How do I know if my lawn mower pull cord needs replacement?
A: Look for signs such as fraying, breaking, or difficulty in pulling the cord. If it does not recoil properly or appears damaged, it likely needs replacement. Regular maintenance, as covered in our article, can help prevent issues before they arise.
Q: What replacement pull cord length do I need for my lawn mower?
A: The required pull cord length varies by mower model, but typically ranges from 50 to 100 inches. Refer to your owner’s manual for the exact specifications to ensure proper fit and function.
Q: Can I use any type of cord to replace my lawn mower’s pull cord?
A: No, it’s essential to use a pull cord specifically designed for lawn mowers. Using the wrong type can affect performance and durability. Check your mower’s specifications for guidance on the correct pull cord.
Q: Why is my lawn mower pull cord stuck?
A: A stuck pull cord can result from debris in the mower’s mechanism, a rusty pulley, or an engine issue. First, inspect for blockages and ensure the mechanism is lubricated. Refer to our troubleshooting section for more solutions.
Q: How can I prevent my lawn mower pull cord from breaking?
A: Regularly inspect the cord for wear and keep the mechanism clean and lubricated. Avoid excessive force when pulling and consider a maintenance schedule as highlighted in our tips for maintaining pull cords.
Q: What tools do I need to change a lawn mower pull cord?
A: Essential tools include a screwdriver, scissors, and pliers. Make sure you have a replacement pull cord that matches your mower’s specifications. For a detailed tool list, check our essential tools section.
Q: Is it difficult to change a lawn mower pull cord myself?
A: Changing a lawn mower pull cord is generally not difficult and can often be completed in under 15 minutes if you follow the right steps. Our step-by-step guide provides detailed instructions to help you.
Q: How much does it cost to replace a lawn mower pull cord?
A: DIY replacement costs can be quite low, typically around $5 to $15 for the pull cord itself. Hiring a professional may range from $30 to $70, so consider DIY as an economical option. More details can be found in our cost comparison section.
Concluding Remarks
Congratulations on mastering the simple yet effective method to change your lawn mower pull cord in just 15 minutes! Keeping your mower in top shape is essential for a healthy lawn, and this quick fix ensures your machine is ready for action whenever you need it. If you found this guide helpful, don’t miss out on our tips for maintaining your mower to extend its lifespan and improve performance.
For more do-it-yourself lawn care advice, check out our article on the top maintenance tips for lawn mowers or explore our comprehensive guide on common lawn mower repairs. These resources can enhance your knowledge and boost your lawn care skills!
Ready to take the next step? Subscribe to our newsletter for more expert insights or browse our product pages for the best lawn care tools available. Don’t forget to share your experience in the comments below – we love hearing from you! Your lawn mower’s performance matters, and with just a little effort, you can keep it running smoothly all season long.