Did you know that a malfunctioning ignition coil is one of the most common reasons your lawn mower might not start? If you’ve ever faced the frustration of a lawn mower that simply won’t roar to life, understanding how to check the ignition coil can save you time and money. This essential component generates the spark necessary for the engine to fire, making it a critical player in your mower’s performance. In this guide, we’ll walk you through the simple tools and steps needed to assess your lawn mower’s ignition coil. With a little patience and the right approach, you’ll be equipped to troubleshoot ignition issues confidently, ensuring your lawn stays perfectly manicured all season long. Keep reading to discover how you can master this essential maintenance task!
Understanding the Function of Lawn Mower Coils
The ignition coil in a lawn mower is a critical component that plays a pivotal role in generating the spark needed for combustion. Essentially, it transforms the battery’s low voltage into the high voltage necessary to ignite the air-fuel mixture in the engine’s combustion chamber. Without a properly functioning coil, your mower may fail to start or run efficiently, leading to unnecessary frustration during what should be a routine lawn maintenance task.
At its core, the coil consists of two wire windings – the primary and secondary coils – wrapped around a magnetic core. When the engine cranks, current flows through the primary winding, creating a magnetic field. As this field collapses, it induces a high-voltage current in the secondary winding, which is then sent to the spark plug. This chain reaction is crucial for the initiation of the combustion process. Therefore, understanding how your lawn mower’s ignition coil functions can assist in diagnosing starting issues or poor engine performance.
Moreover, lawn mower coils can vary in design and specifications based on the engine model, making it essential for owners to refer to specific service manuals for testing guidelines and resistance readings. Regular testing and maintenance of the ignition coil can save time and resources by identifying issues before they escalate, ensuring that your mower operates smoothly and efficiently.
Educating yourself about the function and operation of your lawn mower’s ignition coil not only enhances your troubleshooting skills but also promotes a longer lifespan for your equipment, which translates into more optimal mowing sessions and a neatly maintained lawn.
Essential Tools for Coil Testing You Already Have

To effectively test a lawn mower ignition coil, you don’t need a specialized toolkit; many of the essential tools are likely already part of your home maintenance supplies. One of the most critical items is a multimeter. This versatile device is indispensable for measuring electrical resistance, voltage, and current, allowing you to determine whether your coil is functioning within its specified parameters. When set correctly, a multimeter can reveal whether the coil’s primary and secondary windings are damaged or shorted.
In addition to a multimeter, you might also find that basic hand tools such as screwdrivers and wrenches can aid in the testing process. These tools are essential for safely removing the coil from the engine for a thorough evaluation. For example, a simple socket set will help you access hard-to-reach bolts, making the removal of the ignition coil easier and preventing potential mishaps that could arise during the process.
Moreover, safety gear like gloves and goggles is often overlooked but crucial when working on engine components. While testing the coil, you’re dealing with high-voltage components, and ensuring your safety should always be a priority. If sparks are generated during testing, wearing appropriate protective gear can prevent injury.
Lastly, while not precisely a tool, having access to your lawn mower’s service manual can significantly enhance your troubleshooting endeavors. These manuals include vital specifications and resistance measurements tailored to your specific engine model. By cross-referencing these details with your multimeter readings, you can accurately diagnose whether your lawn mower’s ignition coil is the culprit behind starting issues or poor performance.
Step-by-Step Guide to Testing Lawn Mower Coils
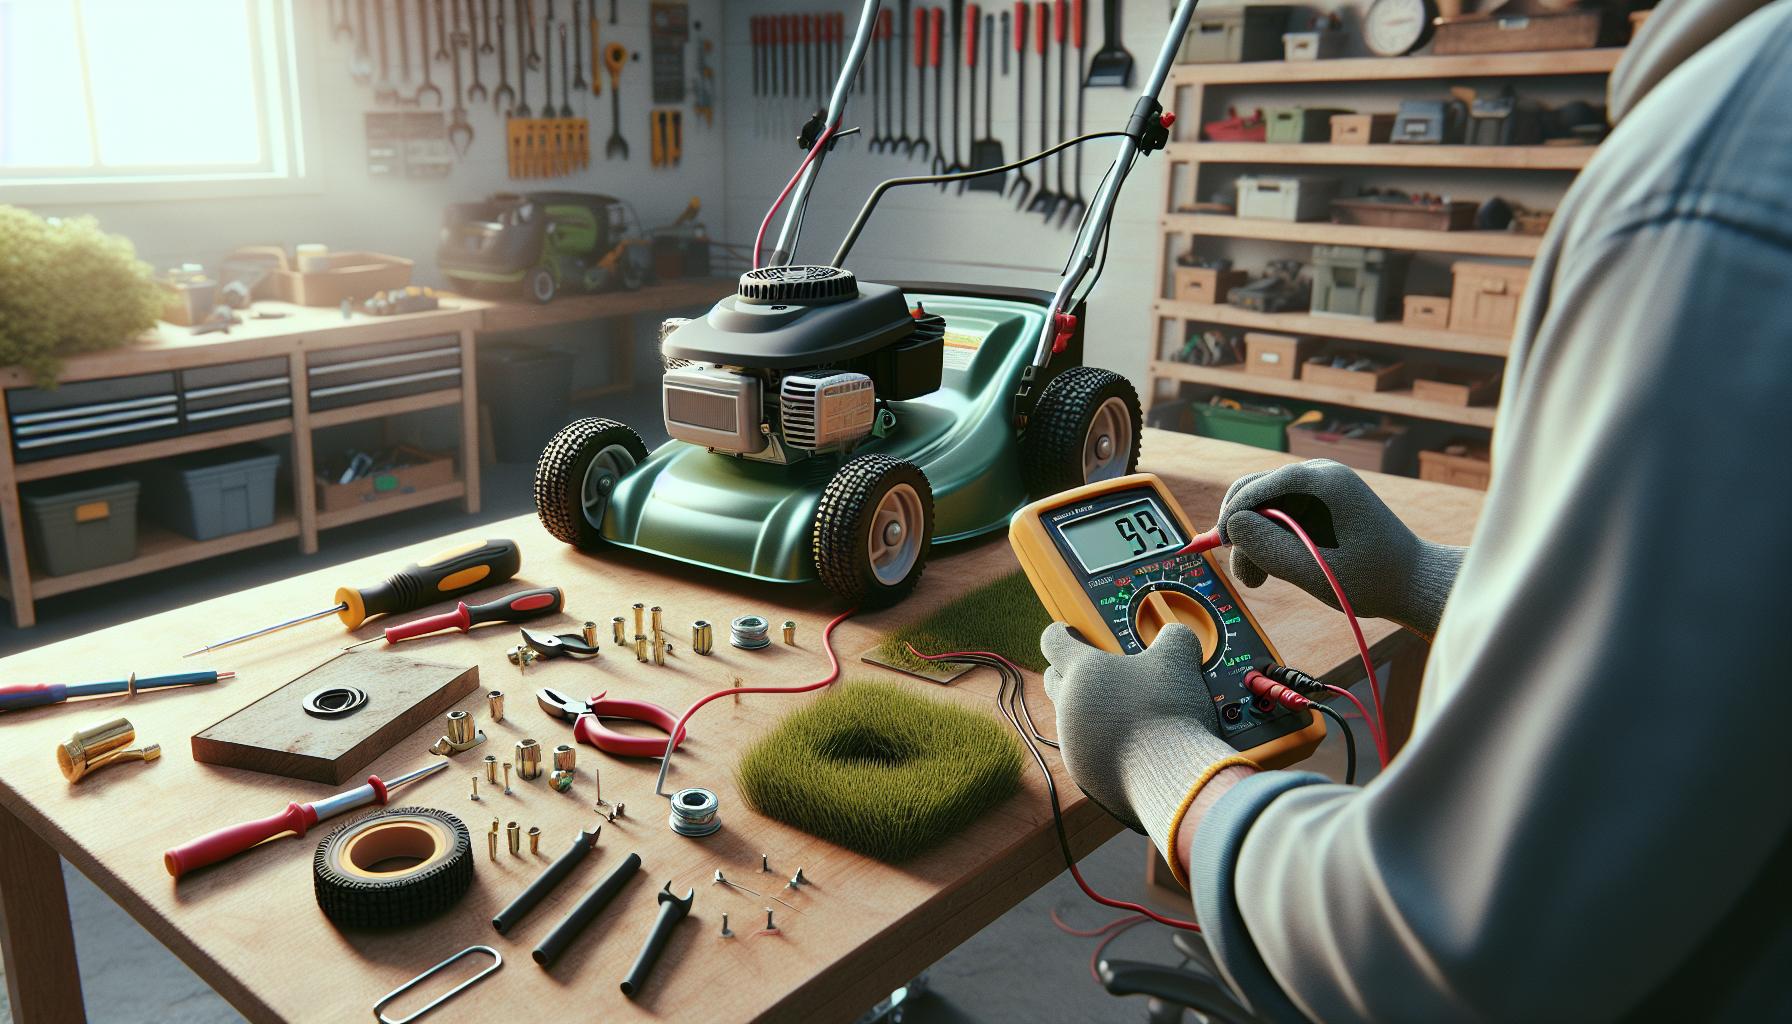
Testing the ignition coil of your lawn mower is not just a maintenance task; it can be the key to reviving your machine and ensuring it operates at its best. If your mower is experiencing starting issues or lacks power, a simple multimeter test can help determine if the ignition coil is the source of the problem. Here’s a straightforward step-by-step guide to effectively test your lawn mower coil using basic tools.
First, safety is paramount. Begin by disconnecting the spark plug wire to prevent any accidental ignition. Ensure that the mower is on a flat surface and the engine is completely cool. Once safe, remove the engine cover to access the ignition coil, which is typically situated near the flywheel.
Next, set your multimeter to the resistance (ohm) setting. Identify the terminals on the ignition coil. There are usually two: the primary and secondary terminals. Using the multimeter, measure the resistance between these two terminals. For most lawn mower coils, the primary terminal should read between 3 to 6 ohms, while the secondary terminal should generally measure between 5,000 to 20,000 ohms. Make sure to consult your mower’s service manual for specific resistance values related to your model. If the readings are outside these ranges, the coil may be faulty.
Additional checks include testing for continuity. With the multimeter still set to the resistance setting, connect one lead to the ignition coil’s frame (ground) and the other to the primary terminal. A reading of infinity indicates a break in the winding, which means it’s time for a replacement. Similarly, you can check the connection between the secondary terminal and the spark plug cap; an open circuit here also signifies failure.
After completing your tests, remember to carefully reconnect all components, ensuring that the spark plug wire is firmly attached. If you confirmed the coil is faulty or failing, proceed to replace the ignition coil, ensuring you select a compatible part for your specific lawn mower model. Regular testing and maintenance of the ignition coil can extend the life of your mower and enhance its performance, keeping your lawn in pristine condition.
Common Symptoms of a Failing Lawn Mower Coil
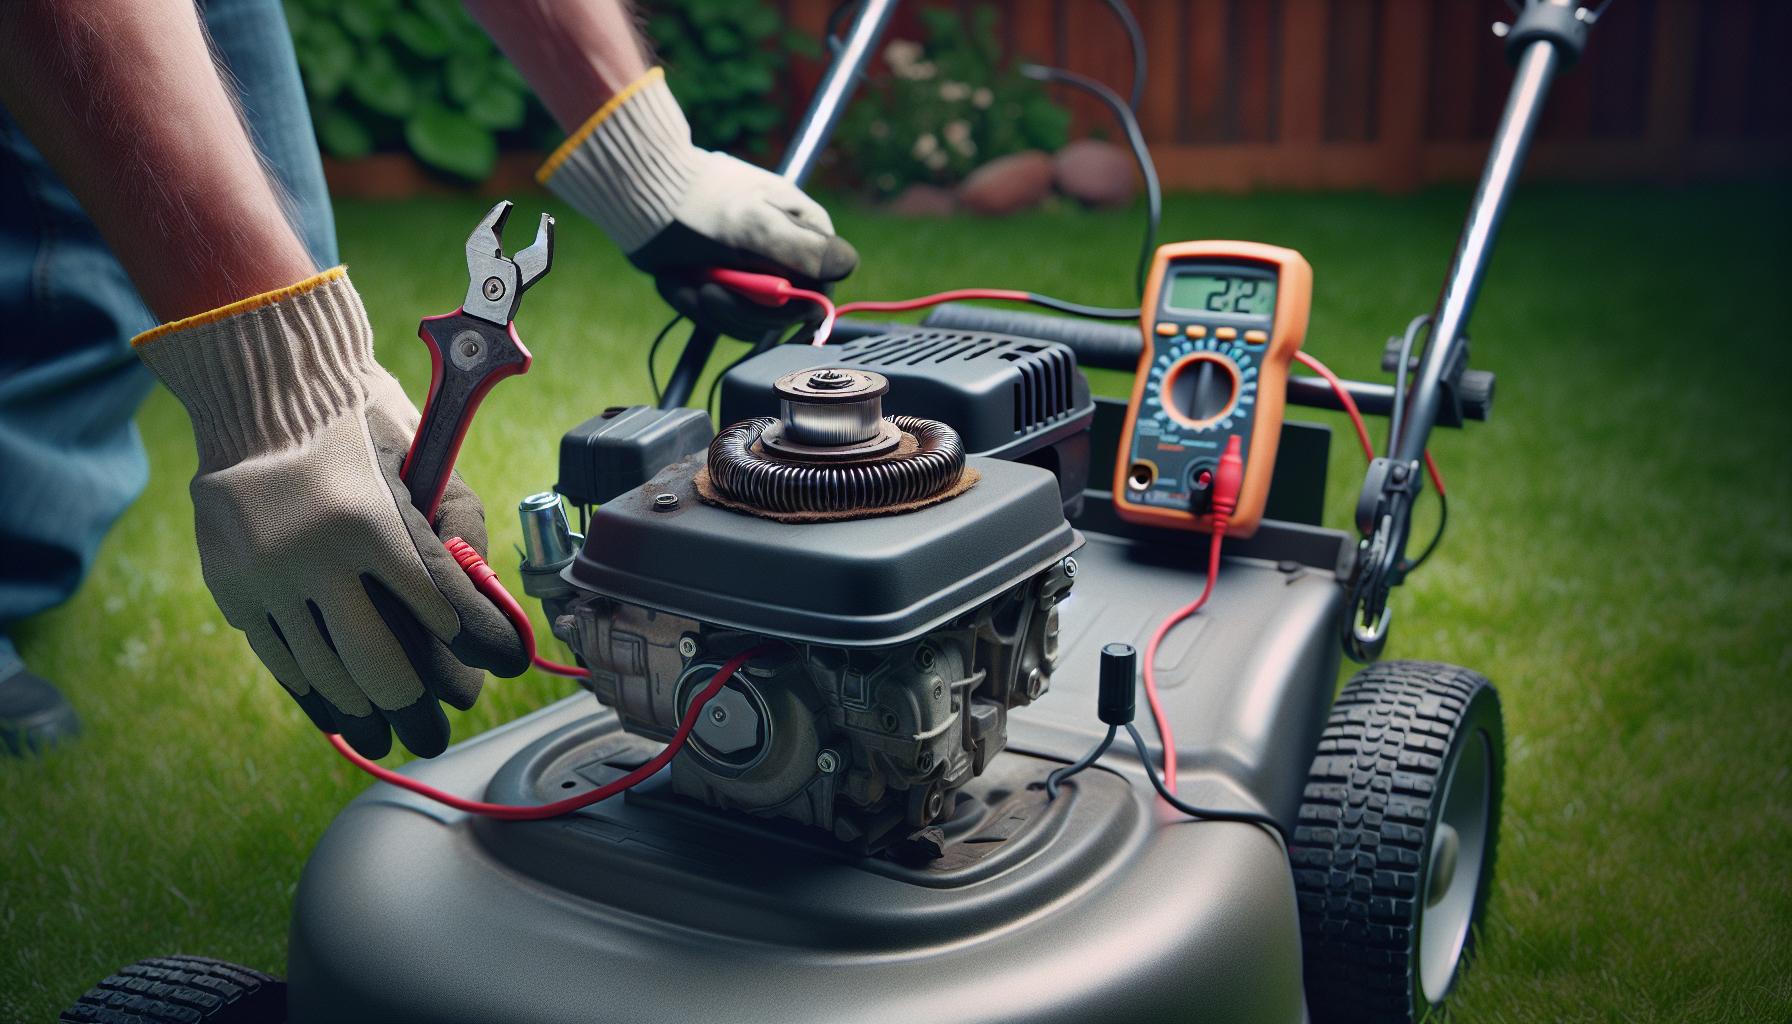
A malfunctioning lawn mower coil can manifest in several ways, and recognizing these symptoms early can save you time and frustration during your mowing tasks. One of the most common indicators is difficulty starting the mower. If you notice that the engine turns over but fails to ignite or only starts occasionally, a failing ignition coil could be preventing the spark needed to ignite the fuel-air mixture, effectively stalling your efforts right from the start.
Another critical sign to watch for is inconsistent engine performance. If your mower sputters or runs unevenly, particularly under load, this may suggest that the coil is struggling to generate a steady spark. A well-functioning ignition coil is essential for maintaining a consistent flow of energy to the spark plug, and interruptions in this flow can lead to poor combustion, resulting in reduced power output and efficiency.
Additional symptoms include noticeable backfiring during operation or the engine stalling unexpectedly. These issues often arise when the coil is unable to provide sufficient voltage, causing delays in spark delivery. You might also observe excessive vibration or unusual engine noise, which are often overlooked but can signal underlying ignition problems.
Lastly, if you find that your mower is excessively consuming fuel, it could be a consequence of incomplete combustion linked to a failing coil – the engine may be working harder to compensate for the loss of power and efficiency. In any of these scenarios, conducting a thorough inspection of the ignition coil with a multimeter can help diagnose the issue, allowing you to determine whether a replacement is necessary to keep your mower running smoothly.
Troubleshooting Tips for Coil Issues and Repairs
Recognizing the signs of ignition coil problems can save you both time and resources, but knowing how to troubleshoot these issues effectively is essential for any lawn mower owner. Start by ensuring that the mower is off and safely disconnected from power sources to prevent accidents. A common first step is to examine the ignition coil for visible damage-cracks or corrosion can suggest that it has failed or is failing. Checking the connections at both the coil and spark plug for any loose or frayed wires can also be a quick way to eliminate simple electrical issues before delving deeper.
Another methodical approach involves using a multimeter to test the coil’s resistance. For most small engines, a reading between 12,000 to 20,000 ohms indicates a properly functioning coil. If the resistance is significantly outside this range, it often suggests a faulty coil. Additionally, if you’re struggling to get the mower to start, disconnect the kill switch wire and attempt starting the engine again. If it runs with the wire disconnected, this could point to a defective kill switch or a grounding issue, rather than a coil failure.
Besides electronic tests, observing engine behavior during operation can provide invaluable insight. If the mower exhibits irregular sputtering or stalling inconsistently, it may be struggling to receive the necessary voltage from the ignition coil. Pay attention to any trends-such as performance worsening under load or during warmer engine conditions. All these factors can lead to a more accurate diagnosis and help reduce the guesswork when deciding whether you need to replace the coil.
Lastly, always refer to your mower’s service manual for specifications and recommendations tailored to your model. Regular maintenance practices such as inspecting and cleaning coil connections can prolong the life of your ignition system. If these troubleshooting steps lead to complications beyond your skill level or comfort, don’t hesitate to seek professional assistance to ensure the safety and reliability of your lawn mower.
How to Replace a Faulty Lawn Mower Coil
When your lawn mower shows signs of ignition coil failure, such as difficulty starting or erratic engine behavior, replacing the faulty coil can restore your equipment’s performance. Fortunately, this task is manageable with a few essential tools and some careful steps. Firstly, gather the items you’ll need: a socket wrench set, a screwdriver, a feeler gauge, and a replacement ignition coil specific to your mower model. You can often find the compatible coils at local hardware stores or online, such as Walmart [[1]].
Before diving into the replacement process, ensure your mower is completely powered down and safely disconnected from any electrical sources. To begin, remove any protective covers around the engine to access the ignition coil. Carefully take off the old coil by unscrewing the mounting bolts. Be attentive during this step to prevent dropping screws into the engine; using a magnetic tray can be helpful. Once the coil is detached, you’ll need to observe its position to ensure your new coil will be placed correctly. You should use your feeler gauge to check the air gap between the coil and the flywheel, typically set at .010 inches, before securing the new coil in place.
After positioning the new coil, tighten the screws to secure it firmly while ensuring it doesn’t touch the flywheel. Reconnect any wires that were removed, keeping them clear of moving parts. Once everything is back together, conduct a quick double-check of your work. Before firing up the mower, ensure everything is securely fastened and all connections are intact.
Finally, start your mower to ensure that the installation was successful. If the engine runs smoothly without sputtering or stalling, you’ve effectively restored your lawn mower’s functionality. Remember, maintaining your ignition coil and checking it regularly can prevent future issues, keeping your equipment in excellent working order and saving you from extensive repairs down the line.
Maintenance Tips for Lawn Mower Coils
Maintaining the ignition coil of your lawn mower is crucial for ensuring effective engine performance and longevity. Did you know that regular maintenance not only enhances functionality but can also extend the life of your equipment? By taking proactive steps, you can prevent common issues associated with ignition coil failure, saving time and money on repairs.
One of the most important aspects of lawn mower coil maintenance involves regular inspections. Periodically check the coil for signs of wear, corrosion, or damage. If you notice any fraying wires or disconnections, address these issues promptly. Cleaning the coil and its connections can also improve its efficiency. Use a soft brush and a suitable cleaning solution to remove any debris or buildup, ensuring that electrical connections are clear and unobstructed.
Another key maintenance tip is to monitor the engine’s performance continuously. If you experience any changes in how your mower starts or runs-such as sputtering, stalling, or a lack of power-it’s a signal to check the ignition coil. Ensure that the coil is calibrated correctly, with the gap between the coil and the flywheel ideally set at .010 inches. This precise alignment is vital for optimal performance, allowing the coil to generate the necessary spark efficiently.
Finally, consider conducting a thorough test of your ignition coil at the start of each mowing season. Using simple tools like a multimeter, you can verify the coil’s resistance and functionality. With a little attention and care, maintaining your lawn mower’s ignition coil can be straightforward, ensuring you enjoy a smooth mowing experience without unexpected breakdowns.
Upgrading Your Lawn Mower Coil for Better Performance
Upgrading the ignition coil in your lawn mower can yield significant improvements in engine performance, fuel efficiency, and overall reliability. Did you know that a higher-quality ignition coil can produce a more powerful spark, leading to better combustion and a smoother running engine? When considering an upgrade, it’s essential to find a coil that matches your specific mower model and engine type. Here’s how to go about making that improvement.
When looking for an upgraded ignition coil, consider choosing options that provide enhanced quality and longevity. Premium coils are often designed with better insulation materials and higher resistance to heat, which can prevent issues related to overheating or failure in the field. Additionally, many aftermarket coils are designed specifically to maximize performance, yielding a stronger spark and more efficient fuel burn. Some users have reported noticeable differences in starting ease and cutting power after upgrading to a higher-grade coil.
Benefits of Upgrading
- Improved Engine Performance: A stronger spark can lead to better acceleration and a smoother operating engine.
- Enhanced Fuel Efficiency: Better spark means more complete combustion, which can reduce fuel consumption.
- Increased Reliability: An upgraded coil may be more resistant to wear, potentially extending the life of your mower.
Before making your purchase, ensure compatibility with your mower’s manufacturer specifications. This can typically be found in the owner’s manual or on the manufacturer’s website. Once you’ve selected the right coil, make sure to follow proper installation procedures to avoid any electrical issues. Regularly test your new ignition coil with a multimeter to confirm that it’s functioning correctly and providing the necessary resistance.
In summary, investing in an upgraded ignition coil can have significant benefits for your lawn mower’s performance. By enhancing spark quality and ensuring efficient fuel combustion, you can enjoy a more powerful and reliable mowing experience. Regular testing and maintenance of your new coil will help ensure it continues to perform optimally for many mowing seasons to come.
Safety Precautions When Working on Lawn Mowers
When working on lawn mowers, especially when testing or replacing the ignition coil, safety must be your top priority. Each year, numerous accidents occur due to negligence in following safety protocols. A staggering number of these incidents are entirely preventable with proper precautions. Utilizing a few simple safety practices while handling electrical components like ignition coils can help avoid injuries and costly damage to your equipment.
First and foremost, always disconnect the spark plug wire before starting any repairs or tests. This usually involves simply removing the wire from the spark plug, which prevents accidental startups that could cause injury. Additionally, ensure that the mower is on a stable surface and has cooled down sufficiently before beginning any work. Working on hot engine components can lead to burns or other injuries.
Proper personal protective equipment (PPE) is also essential. Wearing gloves can help protect your hands from sharp edges and electrical shock, while safety goggles guard against debris flying into your eyes. If you’re using tools, ensure they are insulated to lessen the risk of electric shock. Be mindful of your clothing; avoid loose-fitting clothes that may get caught in moving parts. Lastly, keep your work area clean and organized. A cluttered workspace increases the risk of accidents and can distract you from the task at hand.
In the event that you’re using any electrical testing tools, such as a multimeter, make sure they are in good working order. Inspect the leads and probes for any signs of damage, as frayed wires can pose a significant hazard. When testing the coil, always follow the manufacturer’s guidelines to ensure you are conducting tests safely and correctly. If you’re unsure about any procedure or if something feels off, it’s better to consult with a professional than to risk injury or damage to your mower. By adhering to these safety precautions, you can work confidently and efficiently while ensuring a safe environment for yourself.
Expert Insights: When to Seek Professional Help
Understanding the limits of your skills and tools is crucial when it comes to lawn mower maintenance, especially with components as vital as ignition coils. While many homeowners feel confident tackling minor repairs, there are specific indicators that suggest it’s time to call in a professional. Ignition coils are tricky; figuring out the exact problem without extensive experience can lead to further complications or damage. For instance, if you test your coil and it seems functional, but the mower still won’t start, there may be underlying issues that require a more thorough investigation.
Some situations warrant professional assistance immediately. If you notice any signs of melting or burning around the ignition coil, don’t attempt to fix it yourself. This is a clear indication of serious electrical issues that could pose safety risks. Professionals not only possess the right tools but also the experience to diagnose complex ignition problems accurately. Moreover, if you lack the essential toolkit or feel unsure about using a multimeter, it’s safer to engage an expert.
When frequent repairs seem necessary or when the replacement coil is not yielding the expected improvements in performance, it may be time to consult a professional. They can provide in-depth expertise to evaluate whether other components in the ignition system are also at fault. Ignoring these signs may result in more costly repairs down the line. In the long run, prioritizing your safety and investing in professional services can save you time, stress, and potentially hazardous situations.
Comparing Coil Types for Various Lawn Mowers
When it comes to lawn mower coils, understanding the differences between various types can significantly influence performance and reliability. Ignition coils are crucial for generating the high voltage needed for the spark plug to ignite the fuel-air mixture in the engine cylinder. Different lawn mowers employ different ignition coil designs, which can affect everything from ease of replacement to overall efficiency.
For example, there are two primary types of ignition coils utilized in lawn mowers: conventional and CDI (Capacitor Discharge Ignition) coils. Conventional coils are commonly found in older models and rely on a traditional electrical circuit to generate the spark. They are often simpler to test and replace, making them ideal for DIY enthusiasts. CDI coils, on the other hand, are more prevalent in modern mowers due to their ability to deliver a stronger spark and improve fuel efficiency. However, they can be more complex to troubleshoot and require specific readings from a multimeter to ascertain their functionality accurately.
Key Differences to Consider
To help you navigate the coil marketplace effectively, here’s a quick comparison based on essential features:
| Feature | Conventional Coil | CDI Coil |
|---|---|---|
| Cost | Generally lower | Typically higher |
| Ease of Replacement | Easy | Moderate to difficult |
| Performance | Moderate | High efficiency and power |
| Diagnostic Testing | Straightforward | Requires precise measurements |
Choosing the right coil depends largely on your specific lawn mower model and its requirements. Always refer to the manufacturer’s specifications for your lawn mower when selecting a replacement coil. This ensures compatibility and optimal performance, as using an incorrect coil can lead to inefficient operation or damage to the ignition system. By being informed about the various coil types and their characteristics, you can make a more educated decision that benefits both your lawn mower’s performance and your long-term maintenance efforts.
Frequently Asked Questions
Q: How do you know if a lawn mower coil is bad?
A: Signs of a bad lawn mower coil include difficulty starting the engine, irregular engine performance, or a complete lack of spark at the spark plug. You can test for spark using a spark tester or by disconnecting the spark plug wire and grounding it against the engine while pulling the starter rope. Refer to the “Common Symptoms of a Failing Lawn Mower Coil” section for more details.
Q: What tools do I need to test a lawn mower ignition coil?
A: To test a lawn mower ignition coil, you typically need a multimeter, a spark tester, and basic hand tools like screwdrivers and wrenches. These tools allow you to check for continuity and verify if the coil is providing sufficient spark during engine operation. Check the “Essential Tools for Coil Testing You Already Have” section for more information.
Q: How can I test a lawn mower coil without a multimeter?
A: You can test a lawn mower coil without a multimeter by using a spark tester. Connect the tester to the spark plug wire and then start the engine. If a bright spark is visible, the coil is functioning properly. If not, further inspection or replacement may be necessary.
Q: Why is my lawn mower not starting, and how does it relate to the coil?
A: A lawn mower may not start due to a faulty ignition coil, which fails to generate a spark for combustion. Other factors might include fuel issues or blockages, but starting problems often point to ignition system failures. This topic is discussed in the “Troubleshooting Tips for Coil Issues and Repairs” section.
Q: Can a lawn mower coil be repaired, or does it need to be replaced?
A: Generally, lawn mower coils are not repairable and should be replaced if found defective. For those interested, the “How to Replace a Faulty Lawn Mower Coil” section contains step-by-step instructions for a safe and effective replacement.
Q: How often should I check my lawn mower ignition coil?
A: It’s a good practice to check your lawn mower ignition coil annually, especially before the mowing season begins. Regular maintenance can help catch issues early, ensuring reliable performance. Refer to the “Maintenance Tips for Lawn Mower Coils” for specific guidelines.
Q: What happens if you run a lawn mower with a bad ignition coil?
A: Running a lawn mower with a bad ignition coil can lead to poor performance, potential engine damage, and increased fuel consumption. It’s advisable to address coil issues promptly to avoid further complications and ensure efficiency.
Q: Can using a different type of coil improve lawn mower performance?
A: Yes, upgrading to a high-performance ignition coil or a solid-state ignition conversion can improve efficiency and reliability. Such upgrades are discussed in the “Upgrading Your Lawn Mower Coil for Better Performance” section, suggesting options for enhanced output.
In Conclusion
Now that you have mastered how to check your lawn mower coil with simple tools, it’s time to put this knowledge into action. Don’t let a faulty coil derail your mowing efforts-take the first step today and ensure your lawn mower is running smoothly. For additional support, check out our comprehensive guides on “Common Lawn Mower Problems” and “Essential Lawn Care Tools” to deepen your understanding and ensure your lawn stays in top shape.
If you found this guide helpful, consider signing up for our newsletter to receive expert tips directly to your inbox, or explore our collection of lawn care products that can enhance your mowing experience. Remember, a well-maintained mower not only saves you time and energy but can also improve the look of your lawn. Share your experiences in the comments below or reach out with any questions. Happy mowing!