
Have you ever noticed how leaves and debris can wreak havoc on your gutters, compromising their function and leading to costly repairs? Leaf guard gutters are designed to minimize these issues, but when the time comes to remove them for maintenance or replacement, the process can seem daunting. Understanding how to remove leaf guard gutters efficiently is crucial for maintaining the integrity of your home. In this guide, we’ll walk you through five easy steps to safely detach those guards, ensuring your gutters work effectively and continue to protect your home from water damage. With the right approach, you can tackle this task with confidence and keep your gutter system in top shape. Let’s dive in and empower you to take charge of your home’s maintenance!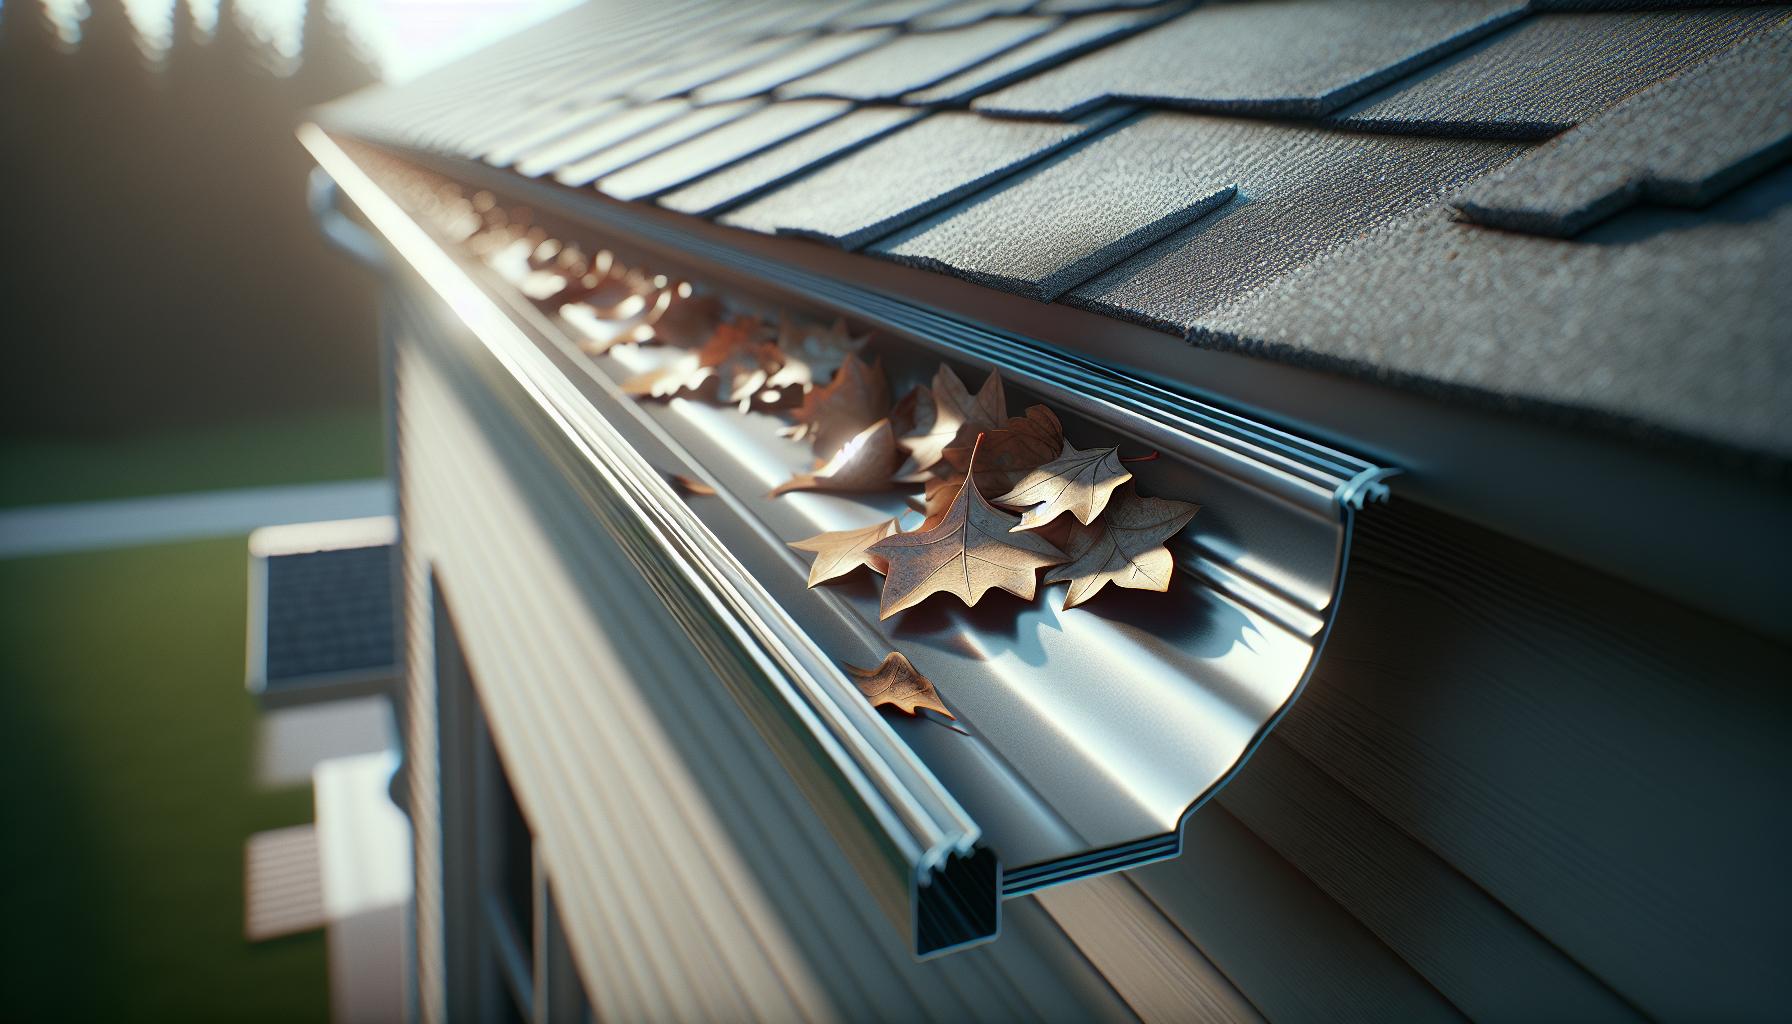
Understanding Leaf Guard Gutters: What You Need to Know
Understanding the different types of gutter systems, particularly leaf guard gutters, is essential for any homeowner looking to maintain their property effectively. Leaf guard gutters are designed to prevent leaves, debris, and pests from blocking traditional gutters, thus reducing the frequency of clogs and costly maintenance. However, they can also make the process of cleaning and maintaining gutters more complex. Familiarizing yourself with how these systems are constructed and function is the first step towards successfully removing them when needed.
It’s crucial to note that while leaf guard gutters can significantly minimize gutter maintenance, they are not infallible. Heavy rain, snow, or ice buildup can still compromise their effectiveness, leading to overflow or water damage. Additionally, the presence of a leaf guard can hide the true state of your gutters; underlying issues may go unnoticed until they result in significant problems. Homeowners should regularly inspect their gutters to ensure the leaf guard is functioning correctly and to identify any potential traps-expanding with a little knowledge about seasonal changes and environmental effects.
When preparing for the removal of leaf guard gutters, understanding the methods of attachment is vital. Most leaf guard systems are secured with screws or clips, which can vary in difficulty to remove. Researching the specific type of gutter protection system in your home can save time and frustration. Take some time to familiarize yourself with the various installation methods, as it will aid in a smoother removal process.
In conclusion, being informed about leaf guard gutters not only empowers homeowners but also promotes proactive maintenance. This knowledge can make a significant difference in keeping your home safe from water damage and ensuring the longevity of your gutter system. Always stay vigilant and be ready to take action when needed-your home will thank you in the long run.
Essential Tools for Safely Removing Leaf Guard Gutters
Removing leaf guard gutters requires more than just determination; it demands the right set of tools to ensure a safe and effective process. Utilizing appropriate equipment not only makes the job easier but also minimizes the risk of damage to your gutters or personal injury. Homeowners often overlook this critical aspect, which can lead to frustration during the removal process. Here’s a look at the essential tools you’ll need to safely tackle the job.
To start, having a sturdy ladder is crucial for accessing gutters high up on your home. Ensure that your ladder is rated for your weight and the height it needs to reach. An extension ladder is often the best choice, as it allows you to work safely from a stable position. Ladder stability is key-consider using ladder stabilizers or a level surface beneath the base to prevent any accidents.
Hand tools are equally important. A screwdriver set (both flat-head and Phillips) will help you remove screws or clips that secure the leaf guard to your gutters. For more stubborn attachments, a socket wrench or a drill with the appropriate bit can speed up the process. Additionally, having a pair of pliers on hand can assist in loosening any tightly fastened clips.
Don’t forget about safety gear: gloves to protect your hands, safety goggles to shield your eyes from debris, and a dust mask if you’re sensitive to dirt and allergens. These simple additions can significantly enhance your safety while you work. Lastly, consider a tarpaulin to catch debris and keep your working area clean, making it easier to dispose of any materials after the job is done.
In summary, gathering your tools ahead of time can streamline the removal of leaf guard gutters. By investing in quality equipment and ensuring you have the right safety gear, you’ll not only protect yourself but also increase the efficiency of your efforts, leading to a successful project outcome.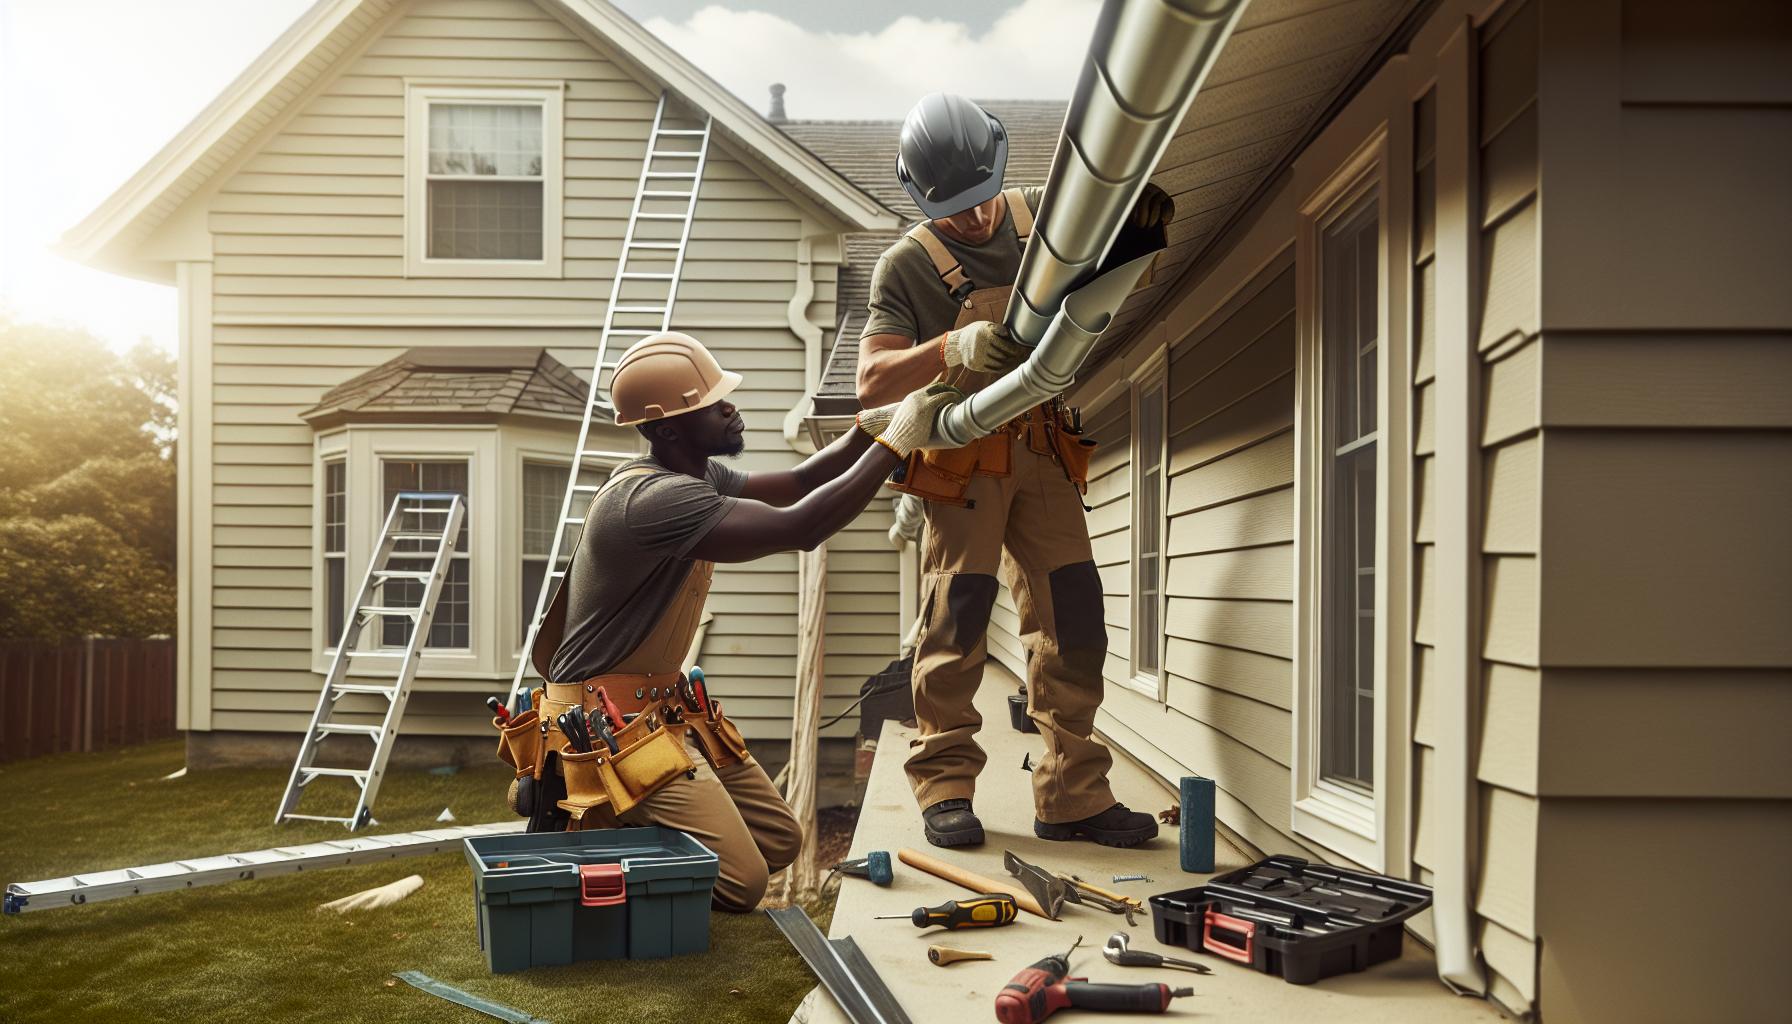
Step-by-Step Guide to Removing Leaf Guard Gutters
Removing leaf guard gutters can seem daunting, but with a clear approach, you can accomplish the task safely and efficiently. This process typically involves a systematic method to avoid damaging your gutters and ensure a smooth transition to your next steps, whether it’s maintenance or replacement. Here’s a straightforward guide to facilitate your removal process.
Start by ensuring safety first. Before climbing your ladder, double-check that it’s set up on stable ground. Wearing your safety gear-gloves, goggles, and a dust mask-is essential to protect yourself from debris. Once secured, gather your tools for maximum efficiency, including a screwdriver set, pliers, a socket wrench, and a drill. Having a helper can also be valuable, as one person can manage the ladder while the other works on the gutters.
Next, begin the removal process at one end of the gutter run. Use your screwdriver to take out any screws or clips holding the leaf guard in place. If the fasteners are rusty or particularly stubborn, applying a penetrating oil can help loosen them. For guards that are clipped on, you may need to pry them off gently, avoiding any forceful pulling that could bend the gutters.
After removing the fasteners, gently lift the leaf guard away from the gutter, taking care not to damage the sealing or the gutter itself. Once the guard is detached, inspect the gutter for any debris or blockages before proceeding to the next section. If you encounter any resistance or stubborn areas, using a pry bar can assist in loosening the guide without excessive force.
Finally, clean up your workspace by collecting all removed materials and disposing of them responsibly. Make sure to check the condition of your gutters for any repairs needed before reinstalling or replacing them, as this will help ensure your home is well-protected from water damage going forward.
By following these steps methodically, you can simplify the process of removing leaf guard gutters, making the experience safer and more efficient.
Common Mistakes to Avoid When Removing Gutters
When embarking on the task of removing leaf guard gutters, several common missteps can lead to injuries, property damage, or an unnecessarily complicated process. One noteworthy mistake is neglecting safety precautions, which are fundamental in any home maintenance project. Failing to secure the ladder properly, wearing inappropriate footwear, or ignoring the need for protective gear like gloves and goggles can result in accidents. It’s essential to establish a stable ladder setup and equip yourself with the right tools and safety gear before the job.
Another error often encountered is rushing through the removal process. Many homeowners underestimate the complexity involved in detaching gutters, leading to hasty actions that might compromise the integrity of the gutters or the home’s structure. For instance, using excessive force when removing screws or clips can cause damage not only to the fasteners but also to the gutter itself. Instead, take your time; apply penetrating oil to stubborn screws and gently pry components loose to avoid bending or breaking them.
Failing to inspect the gutters and the surrounding area before starting can also hinder the process. Ignoring signs of rust, corrosion, or wear can result in unexpected complications during removal. A carefully conducted pre-inspection can reveal potential problem areas, allowing you to prepare accordingly. Moreover, it’s crucial to have a plan for debris disposal. Many tend to overlook cleanup, leaving behind broken materials or debris that can cause headaches later, not to mention safety hazards.
Lastly, many underestimate the importance of planning for replacement or maintenance once the guards are removed. Being aware of your next steps – whether it’s cleaning the gutters, making repairs, or considering alternative systems – can help streamline the entire process. By proactively addressing these common mistakes, you can ensure a safer, more efficient removal of leaf guard gutters, setting the stage for effective maintenance of your home.
Dealing with Stubborn Leaf Guard Systems: Tips and Tricks
When faced with stubborn leaf guard systems, homeowners often find themselves grappling with materials that refuse to let go or with fasteners that have rusted after years of exposure to the elements. Understanding how to manage these challenges efficiently can save both time and frustration during the removal process. One effective strategy is to use a penetrating lubricant, such as WD-40, which can help to loosen corroded screws and clips. Simply spray the lubricant generously on the fasteners and allow it to sit for at least 10 to 15 minutes to penetrate before attempting to unscrew them.
In addition, consider employing the right tools to tackle tough fixtures. A dedicated gutter removal tool or a prying tool can provide the necessary leverage to assist in detaching particularly stubborn sections. If you encounter leaf guard systems secured with adhesive, using a putty knife can gently break the seal without causing damage. Always work methodically and be patient; rushing can lead to accidents or unintentional damage, which can complicate the removal process.
Extra Care with Clips and Hangers
Pay special attention to clips and hangers, as they are often the most resilient parts of the system. Before applying excessive force, inspect these attachments for alternative methods of removal. Sometimes, gently wiggling or shifting the clips can release their grip without damaging the connecting pieces. Avoid using excessive force, as it can lead to broken components or injury.
Finally, don’t overlook the importance of having help on hand. Collaborating with a friend or family member can make it easier to handle long or heavy sections and allows for an extra set of hands to stabilize ladders or assist in navigating tricky areas. If a particular section proves too difficult to manage, don’t hesitate to rethink your approach or consult professional advice. In handling stubborn leaf guard systems, a calm and strategic mindset will ensure a successful removal process.
What to Do After Removing Leaf Guard Gutters
After successfully removing your leaf guard gutters, it’s important to take a systematic approach to address the potential implications of this task and prepare for the next steps in maintaining your home’s drainage system. One critical aspect is to assess the condition of both your gutters and the surrounding infrastructure. Evaluate for Damage: Inspect the gutters carefully for any signs of damage or wear that may have gone unnoticed, such as rust, holes, or misalignment. If any issues are detected, it’s wise to make repairs before reinstallation or replacement to avoid future leaks and water damage.
A well-planned cleaning session can also benefit your home’s drainage system greatly. Thoroughly Clean Your Gutters: With the leaf guards removed, take the opportunity to clean the gutters thoroughly. Use a scoop or garden trowel to remove any accumulated debris, dirt, or leaves that may have built up over time. Flush with Water: After clearing out the loosened debris, flush the gutters with water from a hose to ensure that no blockages remain and that water flows smoothly towards the downspouts. This step is essential in preventing clogs that can lead to issues down the line, such as overflow or structural damage.
Once you’ve addressed cleaning and inspection, consider your options for the next chapter of your gutter system. Decide on Your Next Steps: You can choose to reinstall the leaf guards if they were in good condition or consider their removal as an opportunity to explore alternative systems that may better suit your needs. Research the benefits of different gutter solutions, which could include new types of leaf guards, traditional open gutters, or even seamless gutters, depending on your priorities regarding maintenance and performance.
Finally, don’t forget about the importance of ongoing maintenance after your gutters are in place. Implement a Regular Maintenance Schedule: Establishing a schedule will ensure your gutters remain in optimal condition and continue to perform their function effectively. Regularly inspect and clean your gutters at least twice a year, especially before the fall and spring seasons. Keeping your gutters clear of debris and ensuring their integrity can save you from more significant issues down the road.
By taking these steps after removing your leaf guard gutters, you’re setting yourself up for a more efficient and effective gutter system that will serve your home well.
Maintaining Your Gutters: Best Practices for Homeowners
Maintaining gutters may not be the most glamorous home improvement task, but it plays a vital role in protecting your home from water damage and ensuring your drainage system works effectively. Did you know that failing to maintain your gutters can lead to costly repairs that could significantly impact your home’s value? Regular upkeep is essential to avoid clogged gutters that can overflow, causing structural issues or even foundation problems.
To keep your gutters in top shape, establish a regular maintenance schedule. Aim to clean your gutters at least twice a year, ideally in the spring and fall when debris is most likely to accumulate. During these inspections, look for leaves, twigs, and other debris that can hinder water flow. A simple gutter cleaning tool can make this process easier, allowing you to remove blockages quickly. If you live in a tree-dense area, you may need to increase the frequency of your cleaning sessions to keep everything flowing smoothly.
Inspecting for Damage
As part of your maintenance routine, it’s crucial to inspect your gutters for any signs of damage. Look for rust, cracks, or signs of wear and tear that might indicate it’s time for repairs. The joints of the gutters should also be checked to ensure they are sealed properly to prevent leaks. Addressing these issues promptly can save you a lot of hassle down the road. If you discover any significant damage, don’t hesitate to reach out to a professional to assess the situation.
Using Quality Materials
When it’s time to replace or install new gutters, consider investing in high-quality materials. While they may cost more upfront, durable materials such as aluminum or stainless steel can significantly extend the lifespan of your gutter system. Additionally, gutter guards can be a smart add-on to reduce cleaning frequency by keeping larger debris out. However, remember that even with guards, occasional cleaning is still necessary to clear small particles and verify that water flows as intended.
Incorporating these best practices into your home maintenance routine will enhance the longevity and efficiency of your gutters. By remaining proactive and addressing potential problems early, you can protect your home from water damage and keep your gutters functioning well for years to come.
When to Call a Professional for Gutter Removal
When it comes to removing leaf guard gutters, knowing when to call a professional can save you time, effort, and potential safety risks. Gutter removal might seem like a straightforward task, but there are several circumstances where enlisting the help of experts can be a wise decision. For instance, if your home has multiple stories or steeply pitched roofs, the extra height and angle can make DIY removal both challenging and dangerous. A professional gutter service has the necessary equipment and safety training to navigate these tricky conditions safely.
Additionally, if you’re unsure about the type or system of leaf guards installed, it might be best to leave the job to a professional. Different systems may require specific tools or techniques for removal, and attempting to figure this out on your own could lead to damage to your gutters or your roof. Furthermore, if you notice signs of significant damage to your gutters or the structure around them-such as rust, warping, or leaks-it’s a clear indication that expert assistance is needed. Professionals can assess the overall condition of your gutter system and determine the best course of action, whether that’s removal or necessary repairs.
Another consideration is your own comfort level and experience with home improvement tasks. If you have any doubts about your ability to perform the task safely or correctly, it’s prudent to seek help. Many homeowners underestimate the amount of debris, weight, and potential hazards involved in gutter removal. Making that call not only ensures the job gets done right but also provides peace of mind that you will not inadvertently harm yourself or your home.
In summary, while removing leaf guard gutters can be a manageable task for the DIY enthusiast, do not hesitate to call in professionals under circumstances involving height, damage, uncertainty about the gutter system, or your own experience level. Assessing these factors carefully will lead to better outcomes and a more efficient gutter maintenance routine.
Alternative Gutter Solutions After Leaf Guards
After the removal of leaf guard gutters, homeowners often find themselves contemplating what to do next to safeguard their roofs and ensure adequate water drainage. Fortunately, there are several effective alternatives to traditional leaf guards that can offer excellent protection from debris while requiring minimal maintenance. By exploring these options, you can select a solution that aligns with your home’s needs and your maintenance preferences.
One notable option is the implementation of gutter screens. These are designed to fit over your existing gutters, allowing water to flow through while keeping leaves and larger debris out. They come in various materials, including stainless steel, plastic, and mesh. Screens are usually easy to install and can be a more economical alternative to full guard systems, enabling you to maintain efficient water flow with less debris buildup.
Another alternative is the gutter brush. This innovative solution consists of bristle-like brushes that fill the gutters, preventing leaves from settling while allowing rainwater to pass through unobstructed. Gutter brushes are incredibly simple to install-just push them into the gutters-and they require virtually no maintenance apart from occasional cleaning.
Some homeowners might also consider downspout filters as an effective solution. These filters are placed at the bottom of downspouts to catch debris before it enters the drainage system. This is particularly useful for homes with extensive gutter systems that navigate through complex roof designs, ensuring optimal flow without the hassle of frequent cleaning.
Finally, for those looking for long-term investment, seamless gutters might be worth considering. While their installation can be more labor-intensive and costly upfront, seamless gutters reduce potential leaks and seams that can trap leaves and debris compared with traditional stick gutters. This can lead to lower maintenance and a longer overall lifespan of your gutter system.
As you contemplate these alternatives, consider factors such as cost, maintenance level, and installation complexity to determine the best fit for your situation. The right choice can enhance your home’s water management system, allowing for worry-free rainy seasons while avoiding the pitfalls associated with leaf guards.
Cost Considerations for Removing Leaf Guard Gutters
Understanding the financial implications of removing leaf guard gutters is crucial for any homeowner considering this project. Many variables influence the total cost, from the size of the home and the type of leaf guard used to whether you’ll hire professionals or tackle the job yourself. While some may view the removal as a simple DIY task, hidden costs can quickly add up and catch you off guard.
A basic breakdown of potential expenses can help prepare you. If you choose to hire a professional, costs typically include labor and disposal fees, which can range from $100 to $400, depending on your geographical location and the complexity of the job. When considering a DIY approach, think about the tools you may need to rent or purchase, such as ladders, safety gear, and possibly additional equipment for appropriate disposal. The initial costs may seem manageable, but remember that you’ll need to factor in the time and effort required to complete the job safely.
Another aspect to consider is the condition of the gutters once the leaf guards are removed. If your gutters are damaged or require cleaning, that can add an extra layer of expense. A thorough assessment after removal might reveal the necessity of repairs or replacement parts, which can significantly impact your budget. Therefore, budgeting some contingency funds for unforeseen repairs is wise.
Lastly, calculating potential costs associated with alternative solutions after the removal is essential. If you plan to install a different gutter system or maintenance tools, research these expenses carefully. Innovative products such as gutter screens or brushes may entail additional investment upfront but could save you money on maintenance and repairs in the long run, making them a smart choice for many homeowners. By planning ahead and considering all associated costs, you can make an informed decision that aligns with both your financial situation and long-term maintenance goals.
Eco-Friendly Disposal of Leaf Guard Materials
When it comes to removing leaf guard gutters, many homeowners overlook an important aspect: what to do with the materials once they’ve been removed. Responsible disposal of these materials not only helps to keep your environment clean but can also reflect positively on your commitment to sustainability. Leaf guard systems can be made from a variety of materials, including aluminum, vinyl, and plastic, each of which requires a different approach for eco-friendly disposal.
One effective way to dispose of leaf guard materials responsibly is to recycle them. Aluminum gutters, for instance, are highly recyclable and can be processed and repurposed multiple times without losing quality. Local scrap yards often accept aluminum materials, providing a financial incentive as well. Before heading to the recycling center, make sure to check their guidelines regarding accepted items-some centers may require the materials to be free of contaminants, such as paint or other coatings.
While plastic leaf guards may not always be recyclable through curbside programs, many recycling facilities accept them. Investigating local resources, such as community recycling events or drop-off locations that specialize in hard-to-recycle materials, can be beneficial. Additionally, some local hardware stores have take-back programs for specific plastic products, so inquire about any initiatives they might have.
If the materials are damaged beyond repair, consider alternative eco-friendly options. Repurposing is a great strategy-old gutters can transform into creative garden planters, rain chains, or even art installations. Utilizing these materials in innovative ways helps to minimize waste, keeping them out of landfills. Engaging family or local community members in projects using removed materials not only promotes sustainability but can also foster creativity and collaboration.
Finally, if recycling or repurposing options do not seem feasible, ensure that you dispose of leftover leaf guard materials through your local waste management services. Verify their guidelines to ensure compliance with local regulations, since improper disposal can contribute to environmental issues. By taking these mindful steps, you ensure that the removal process not only improves your home but also supports a broader environmental consciousness.
FAQ
Q: What are the benefits of removing leaf guard gutters?
A: Removing leaf guard gutters can improve your home’s drainage efficiency and reduce potential clogs. It allows for better cleaning access, ensuring that all debris is removed. Additionally, it may enable you to replace damaged sections or switch to alternative gutter solutions that better suit your needs.
Q: How often should I remove leaf guard gutters for maintenance?
A: It’s advisable to inspect and, if necessary, remove leaf guard gutters at least once a year, especially before heavy rain seasons. Regular maintenance checks allow you to address buildup and ensure that your gutters operate efficiently without obstructions.
Q: What tools do I need to remove leaf guard gutters?
A: Basic tools include a ladder, a screwdriver or drill, work gloves, and potentially a pry bar for stubborn guards. Depending on your system, other specialty tools may be required, so review the manufacturer’s instructions for specific recommendations.
Q: Can I remove leaf guard gutters by myself?
A: Yes, you can remove leaf guard gutters by yourself if you have the right tools and follow safety precautions. However, if you encounter complex installations or physical challenges, consider hiring a professional for assistance to avoid injuries.
Q: What should I do if my leaf guard gutters are stuck?
A: If your leaf guard gutters are stuck, try gently prying them away using a plastic pry bar to avoid damage. If they remain stubborn, applying a little heat with a heat gun may help loosen adhesive, but proceed cautiously.
Q: Are there eco-friendly options for leaf guard disposal?
A: Yes, eco-friendly disposal methods include recycling the materials if possible. Many local waste management providers have specific disposal programs for metal and plastic. Check your local recycling guidelines for proper disposal methods.
Q: What are the signs that I need to remove my leaf guard gutters?
A: Signs that you need to remove leaf guard gutters include visible debris accumulation, water pooling around your foundation, or significant rust and damage. If water flow is obstructed, it’s essential to address these issues promptly.
Q: When is it necessary to call a professional for gutter removal?
A: Call a professional for gutter removal if you’re uncomfortable working at heights, your gutters are complex or damaged, or if you encounter unforeseen complications during the removal process. Ensuring proper installation is crucial for your home’s drainage efficiency.
Wrapping Up
Congratulations on mastering the art of removing leaf guard gutters with our simple five-step guide! Now that you know how to tackle this important home maintenance task, don’t stop here-explore our other articles on gutter maintenance and home improvement tips to keep your property in top shape.
Feeling overwhelmed or uncertain about the next steps? Our expert advice on “Common Gutter Problems and Solutions” will help you address any remaining concerns. For those looking to elevate their DIY skills even further, consider checking out our newsletter for exclusive tips and resources straight to your inbox. Your home’s upkeep is essential, and we’re here to support you every step of the way!
Remember, by proactively maintaining your gutters, you enhance your home’s longevity and safety. Don’t forget to share your experiences in the comments below and connect with us on social media for more valuable insights. Dive into our related content, and keep your home improvement journey going strong!