Replacing the blade on your riding lawn mower is a crucial maintenance task that can significantly enhance the performance and longevity of your equipment. A well-maintained mower not only ensures a clean, even cut but also reduces strain on the engine, helping you achieve that lush, verdant lawn you desire. Yet, many homeowners shy away from this DIY task, often fearing complications or the potential for mistakes. This guide will empower you with the knowledge and confidence necessary to tackle blade replacement efficiently. Not only will you save money on professional services, but you’ll also gain a sense of accomplishment, knowing you’re taking proactive steps in maintaining your mower. Let’s dive in and discover the straightforward steps to successfully replace your mower’s blade!
Understanding Different Lawn Mower Blade Types
Understanding the nuances of lawn mower blade types is crucial for achieving the best results while mowing your lawn. Not all blades are created equal; each type serves a specific purpose and can impact your mower’s performance. For instance, the most common blade type, the standard blade, is designed for general use, efficiently cutting a variety of grass types. However, if you have a tougher turf or encounter thicker grass, a mulching blade might be a better fit. These blades are engineered with curved edges that help finely chop grass clippings, returning them to the lawn as natural fertilizer.
Another popular option is the high-lift blade. With an elevated design, these blades create more airflow, which lifts the grass before cutting it, making them ideal for bagging clippings. Conversely, low-lift blades excel when working with sandy soil or moist environments, as they reduce the chance of clogging while still providing a clean cut. Understanding these variations ensures that you select the right blade, contributing not only to a tailored mowing experience but also to a healthier lawn.
When replacing blades, consider how the environment and your specific lawn conditions interact with your choice of blade. For example, using a specialty blade, such as those designed for certain grass types or terrains, can enhance your mowing efficiency significantly. It’s also essential to assess blade width and length, as these factors must align with your mower model to ensure compatibility and optimal performance.
Finally, advancements in materials also play a role in blade selection. Blades made of high-carbon steel, for instance, are not only sharper but also tend to stay sharp longer, reducing the frequency of replacements. Choosing the right type of blade not only simplifies the mowing process but also enhances the overall health of your lawn, representing a wise investment for any homeowner looking to maintain a beautiful yard.
Essential Tools for Blade Replacement
To successfully replace the blade on your riding lawn mower, having the right tools at hand is essential to not only simplify the process but also to ensure safety and efficiency. One of the most critical tools you’ll need is a set of wrenches or sockets specifically suited for your mower’s blade bolts. Always refer to your mower’s manual to find out the exact size needed, as this can vary between models. A ratchet and socket set can dramatically speed up the removal process, while a torque wrench helps ensure that the new blade is installed to the manufacturer’s recommended specifications, preventing damage or unnecessary wear.
Equally important is a safety stand or jack, which stabilizes the mower while you’re working underneath it. This added safety measure secures the mower, making it less likely to shift or fall during the blade replacement. Additionally, don’t overlook the utility of gloves to protect your hands from sharp edges and other potential injuries. It’s also wise to have some cleaning supplies on hand, such as a wire brush or compressed air. These can come in handy for clearing out grass clippings and debris that accumulate around the blade area, promoting better mower performance.
Consider also having a safety goggles to protect your eyes when working with the mower and possibly some machine oil or a graphite lubricant for the bolts. This can help in easing the future blade changes as well as reducing corrosion on the bolts. Utilizing the appropriate tools not only enhances your DIY blade replacement experience but also ensures that your lawn mower operates at peak efficiency with optimal cutting results. Being well-equipped means you can complete the job smoothly and return to the important task of maintaining your lawn.
Step-by-Step Guide to Removing the Old Blade
Before diving into the task of removing the old blade from your riding lawn mower, it’s crucial to understand that this process is not only about ensuring a clean cut but also maintaining the overall health of your lawn. A dull or damaged blade can tear grass rather than cut it, leading to an uneven lawn and potential disease. With the right approach and tools, you can remove and replace your mower’s blade safely and effectively.
Start by ensuring that the mower is on a flat, stable surface, and engage the parking brake for safety. Disconnect the spark plug wire to prevent accidental starting while you work. Next, assess how the blade is mounted to your mower. Most blades are secured with a central bolt, which typically requires a socket wrench to loosen. Here’s a step-by-step outline to guide you through the removal process:
Step-by-Step Process
- Secure the Mower: Use a safety stand or jack to lift the mower deck if necessary, which allows for easier access to the blade.
- Remove Debris: Clean the area around the blade with a wire brush or compressed air, removing any grass clippings or debris that could hinder your progress.
- Loosen the Blade Bolt: Using the appropriate socket, turn the bolt counterclockwise. If it’s stubborn, applying penetrating oil can help ease the bolt’s grip.
- Carefully Remove the Blade: Once loose, pull the blade off the spindle carefully, as blades can be sharp and heavy.
As you complete these steps, always be vigilant about your safety. It’s advisable to wear gloves to prevent cuts from the blade and ensure you’re wearing safety goggles to protect your eyes from debris. After removing the old blade, inspect it as well as the spindle for any signs of wear or damage. This attention to detail can save you from more significant issues down the line and helps ensure that your new blade fits securely and operates effectively.
With the old blade removed, you’re now poised to install a new one, setting the stage for a healthier and more resilient lawn.
How to Safely Install the New Blade
Installing the new lawn mower blade correctly is crucial not only for the performance of your mower but also for the health of your lawn. A blade that’s been properly installed will cut grass cleanly, preventing damage that can invite pests and disease. As you prepare to attach the new blade, ensure that you’ve chosen the right type for your mower and that it’s compatible with your specific model.
Begin by aligning the new blade onto the spindle carefully. It’s essential to match any markings or notches on the blade with those on the spindle to ensure proper alignment. This prevents any unintended wobbling during operation, which could lead to uneven cuts. Once aligned, lift the blade into position, keeping it steady with one hand while you retrieve the bolt.
With the blade in place, insert the spindle bolt and tighten it securely using the socket wrench. Make sure to turn it clockwise; however, do not overtighten as this can lead to damage. A snug fit is sufficient. To ensure that the blade is correctly secured, give it a gentle tug to check for any movement. If it shifts, recheck the tightness of the bolt.
Lastly, reattach the spark plug wire before you test the mower. Before mowing, visually inspect the blade one last time to confirm it is correctly fitted and there are no obstructions in the area. Taking these precautionary steps will help ensure that your mower functions efficiently, allowing you to maintain a beautiful lawn with ease.
Adjusting Blade Height for Optimal Performance
Adjusting the blade height on your riding lawn mower is a crucial step for achieving a healthy, aesthetically pleasing lawn. A properly set blade height can make all the difference in how your grass responds to cutting. Cutting your grass too short can lead to a range of problems, including weakening the roots and making your lawn vulnerable to pests and diseases. Conversely, letting the grass grow too long before mowing may result in an uneven cut and a less attractive lawn.
To achieve optimal performance, it’s essential to know the ideal blade height for your specific type of grass. Most common lawn grasses thrive when cut to a height of around 2.5 to 3.5 inches. This height not only ensures that the grass stays healthy and green but also promotes root growth by allowing adequate sunlight exposure. To adjust the blade height, locate the height adjustment lever typically found near the mower’s seat or on the side of the deck. Depending on your mower model, you may have a manual lever or an electronic control.
Before you make any adjustments, ensure that the mower is on a flat, level surface. Adjust the lever to the desired height based on your grass type, considering seasonal conditions. For example, during hot summer months, raising the blade height can help shade the roots and retain moisture. A lower setting might be more suitable for the spring when grass is actively growing. Remember to check the manufacturer’s manual for any specific recommendations regarding blade height adjustments.
Once you make the adjustment, take your mower for a test drive on a small section of your lawn. Monitor for the quality of cut and adjust further if necessary. Inspect the cut grass to ensure it appears even and healthy after mowing. A well-adjusted mower blade is essential for creating a stunning lawn while minimizing stress on the grass. Properly maintaining the blade height contributes to the overall health and aesthetic of your outdoor space, making your mowing efforts worthwhile.
Troubleshooting Common Blade Replacement Issues
When replacing the blades on your riding lawn mower, various issues may arise that can complicate the process or affect the mower’s performance. Understanding these challenges will empower you to tackle them confidently and efficiently. One common problem is the blade not aligning properly after installation. If the blade is not seated correctly, it can cause vibrations, uneven cuts, or even damage to the mower deck. To resolve this, ensure that you clean the blade mounting area before installing the new blade. This helps avoid any debris that might hinder a proper fit. Once mounted, double-check alignment by rotating the blade by hand to see if it turns freely without obstruction.
Another frequent issue is dealing with rusted or stubborn bolts. If you encounter difficulty removing the old blade due to rust or corrosion, apply a penetrating oil and let it sit for at least 10 minutes. This should loosen the bolts, making removal easier. Always use the correct tools-a socket wrench with the right size socket will provide better leverage and reduce the risk of stripping the bolts.
In some cases, users experience problems with blade height adjustments post-replacement. If your mower is cutting the grass too short or too long, revisit your blade height settings. Refer to your mower’s manual for the recommended heights for your specific grass type. Furthermore, ensure that all four corners of the mower deck are level, as uneven adjustment can lead to inconsistent cuts. If issues persist, it may be wise to inspect the mower’s deck for any warping or damage that could affect blade performance.
Lastly, after blade replacement, you might notice a decrease in cutting efficiency, often stemming from dull blades. Always keep in mind that maintaining sharp blades is essential for a healthy lawn. If you find your new blades aren’t cutting well, consider sharpening them after a few uses, as even new blades can become dulled quickly, particularly if they hit rocks or tough grass. Regular maintenance will not only prolong the life of your blades but also enhance the overall look of your lawn.
Maintaining Your Lawn Mower Blades for Longevity
Keeping your lawn mower blades in prime condition is crucial for maintaining a healthy and beautifully manicured lawn. A sharp blade not only makes a cleaner cut but also minimizes stress on the grass, promoting better growth. To achieve this, consistent maintenance is essential.
Start by regularly checking your blades for signs of dullness or damage. If you notice your mower leaving a jagged edge on grass, it’s time for a sharpen or a replacement. Ideally, blades should be sharpened after every 20-25 hours of mowing, particularly if you regularly mow over rough terrain or encounter debris. A dull blade can tear grass rather than cut it, exposing it to disease.
Additionally, ensure your blades are clean after each mowing session. Grass clippings and dirt can accumulate and lead to rust, affecting blade longevity. Simply hose off the underside of the mower deck and dry it thoroughly to prevent corrosion. If rust is already present, remove it using a wire brush and apply a light coat of oil to the blades after cleaning, which acts as a barrier against moisture.
Another aspect of blade maintenance is proper storage. When not in use, keep your mower in a dry location and consider using a blade cover to protect it from moisture and contaminants. This simple step can prevent issues like rust and corrosion, extending the life of your blades.
Lastly, consider investing in quality blades designed for optimal performance. While basic blades may suffice for standard lawns, upgrading to specialty blades can enhance your mowing efficiency and promote a healthier lawn. Diligently following these maintenance practices not only enhances the effectiveness of your mower but also ensures your yard remains vibrant and lush throughout the growing season.
Signs It’s Time to Replace Your Lawn Mower Blade
When it comes to maintaining a healthy lawn, the condition of your lawn mower blade plays a pivotal role. A well-functioning blade ensures a clean cut, which is crucial for promoting lush growth and minimizing lawn diseases. However, even the best blades don’t last forever, and recognizing the signs that indicate it’s time for a replacement can save you time, effort, and disappointment during your mowing sessions.
A primary indicator that your lawn mower blade needs replacing is the quality of the cut. If you start to notice that the grass is appearing jagged or torn rather than cleanly sliced, it’s a sure sign the blade has become dull or damaged. This type of cutting not only looks unappealing; it can also put stress on grass and make it more susceptible to pests and diseases. Additionally, if you hear an unusual vibration or rattling noise during operation, this often indicates that the blade is loose or structurally compromised-both conditions warrant immediate attention.
Other signs include visible nicks or chips on the blade itself. Regular visual inspections can help you catch these issues early. If the damage is significant, opting for a blade replacement becomes essential rather than attempting a repair. One effective approach is to maintain a routine of checking your mower before each use, allowing you to replace a blade before it affects your lawn. Furthermore, if you’re mowing thicker or tougher grass-like weeds or overgrown lawns-more frequently, blade wear can occur rapidly, necessitating more frequent replacements.
Lastly, consider the age of your blades. Even if they appear to be intact, a blade that has been in service for several years may not perform as well as it once did. If you’re unsure, comparing your current blades with new ones at a hardware store might give you a clearer perspective on whether it’s time to invest in replacements. Remember, keeping your mower blades sharp is key to a healthy lawn, so be proactive about inspections and maintenance.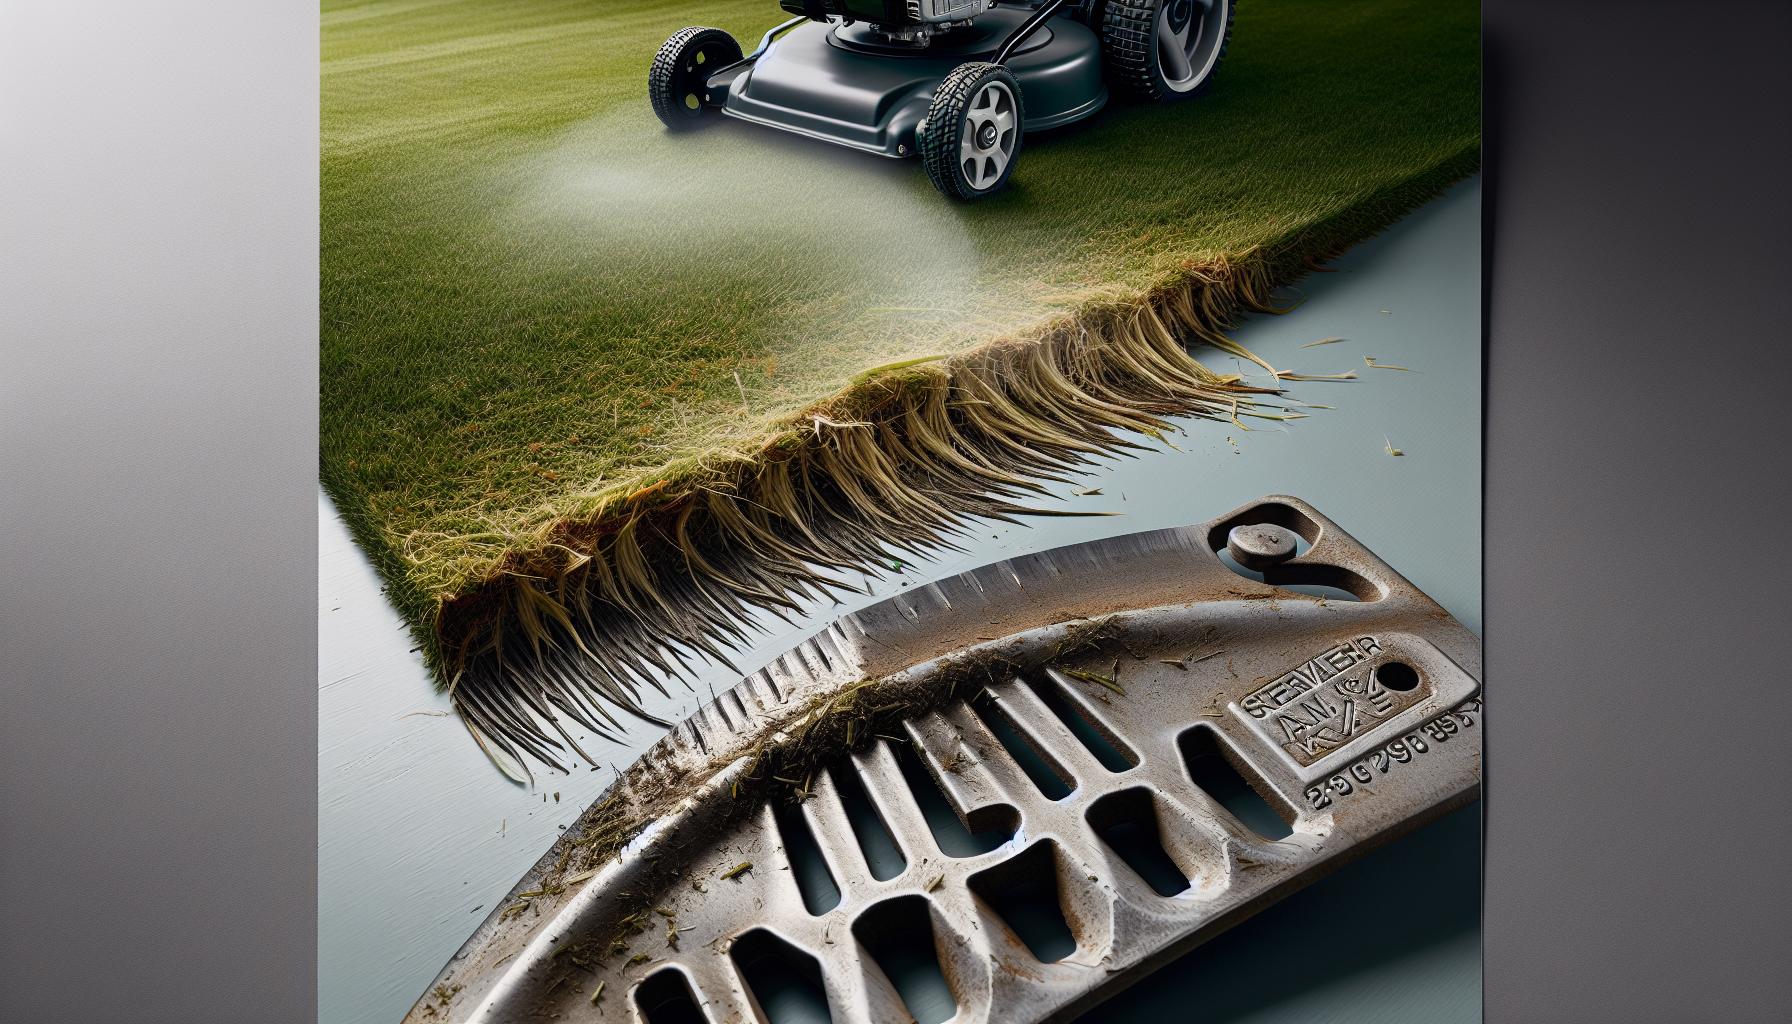
DIY vs Professional Blade Replacement: Pros and Cons
When contemplating the ideal approach for replacing lawn mower blades, one critical decision you’ll face is whether to tackle the task yourself or hire a professional. Each option offers distinct advantages and drawbacks, and understanding these can help you make an informed choice that suits your needs and expertise level.
Choosing to handle a blade replacement on your own can be immensely satisfying and cost-effective. For DIY enthusiasts, it provides an opportunity to learn about your equipment, develop maintenance skills, and save on labor costs. The process encourages a hands-on approach, allowing you to inspect the mower closely for any other maintenance needs. Moreover, a DIY replacement can often be completed quickly, sometimes in under an hour, especially if you have the right tools at your disposal. However, the downside is the requirement for some technical know-how. If you incorrectly install the blade or miss essential safety precautions, it may result in injury or damage to the mower, leading to additional repair costs.
On the other hand, entrusting this task to a professional can bring peace of mind, especially for those uncomfortable with mechanical work. Professionals typically possess the experience necessary to efficiently and correctly replace blades, ensuring they are installed safely and optimally. They also have access to specialized tools that might not be readily available to the average homeowner. However, professional services can come with a higher price tag, and the duration of service may vary based on the shop’s schedule. You could potentially be without your lawn mower for an extended period if they have a busy workload.
In summary, evaluating your confidence in DIY repairs against the convenience of professional help is essential. Consider factors such as your financial situation, available time, mechanical understanding, and how often you’ll need to replace your mower blades. Regardless of your choice, knowing what best aligns with your lifestyle will lead to the best lawn care outcomes.
Eco-Friendly Options for Lawn Mower Blades
Choosing eco-friendly lawn mower blades not only helps maintain the health of your lawn but also contributes positively to the environment. Traditional steel blades can take a long time to break down, and their manufacturing process often involves significant energy use and environmental impact. Fortunately, eco-friendly alternatives are becoming increasingly available, catering to environmentally conscious homeowners and landscapers.
One popular option is mulching blades, which are designed to finely chop grass clippings, allowing them to decompose on the lawn and return valuable nutrients to the soil. This reduces the need for chemical fertilizers and enhances soil health. Additionally, you can find blades made from recycled materials or bamboo-a sustainable resource that serves as a biodegradable option. These blades are lightweight yet durable, making them a practical choice for mowing while minimizing reliance on traditional steel.
When considering your purchase, look for eco-labels or certifications that indicate a product’s environmental impact. Many manufacturers are now producing composite blades, which blend materials to create an environmentally friendly option that is resistant to rust and corrosion. These blades not only last longer but also require less energy to manufacture compared to their steel counterparts.
Lastly, regardless of which eco-friendly option you choose, ensure you maintain your blades well. Properly sharpening and cleaning them can prolong their lifespan and enhance mowing efficiency. This practice not only saves you money over time but also minimizes waste, as you won’t need to replace blades as frequently. Adopting eco-friendly lawn mower blades is a simple yet impactful way to contribute to a healthier environment while keeping your lawn looking its best.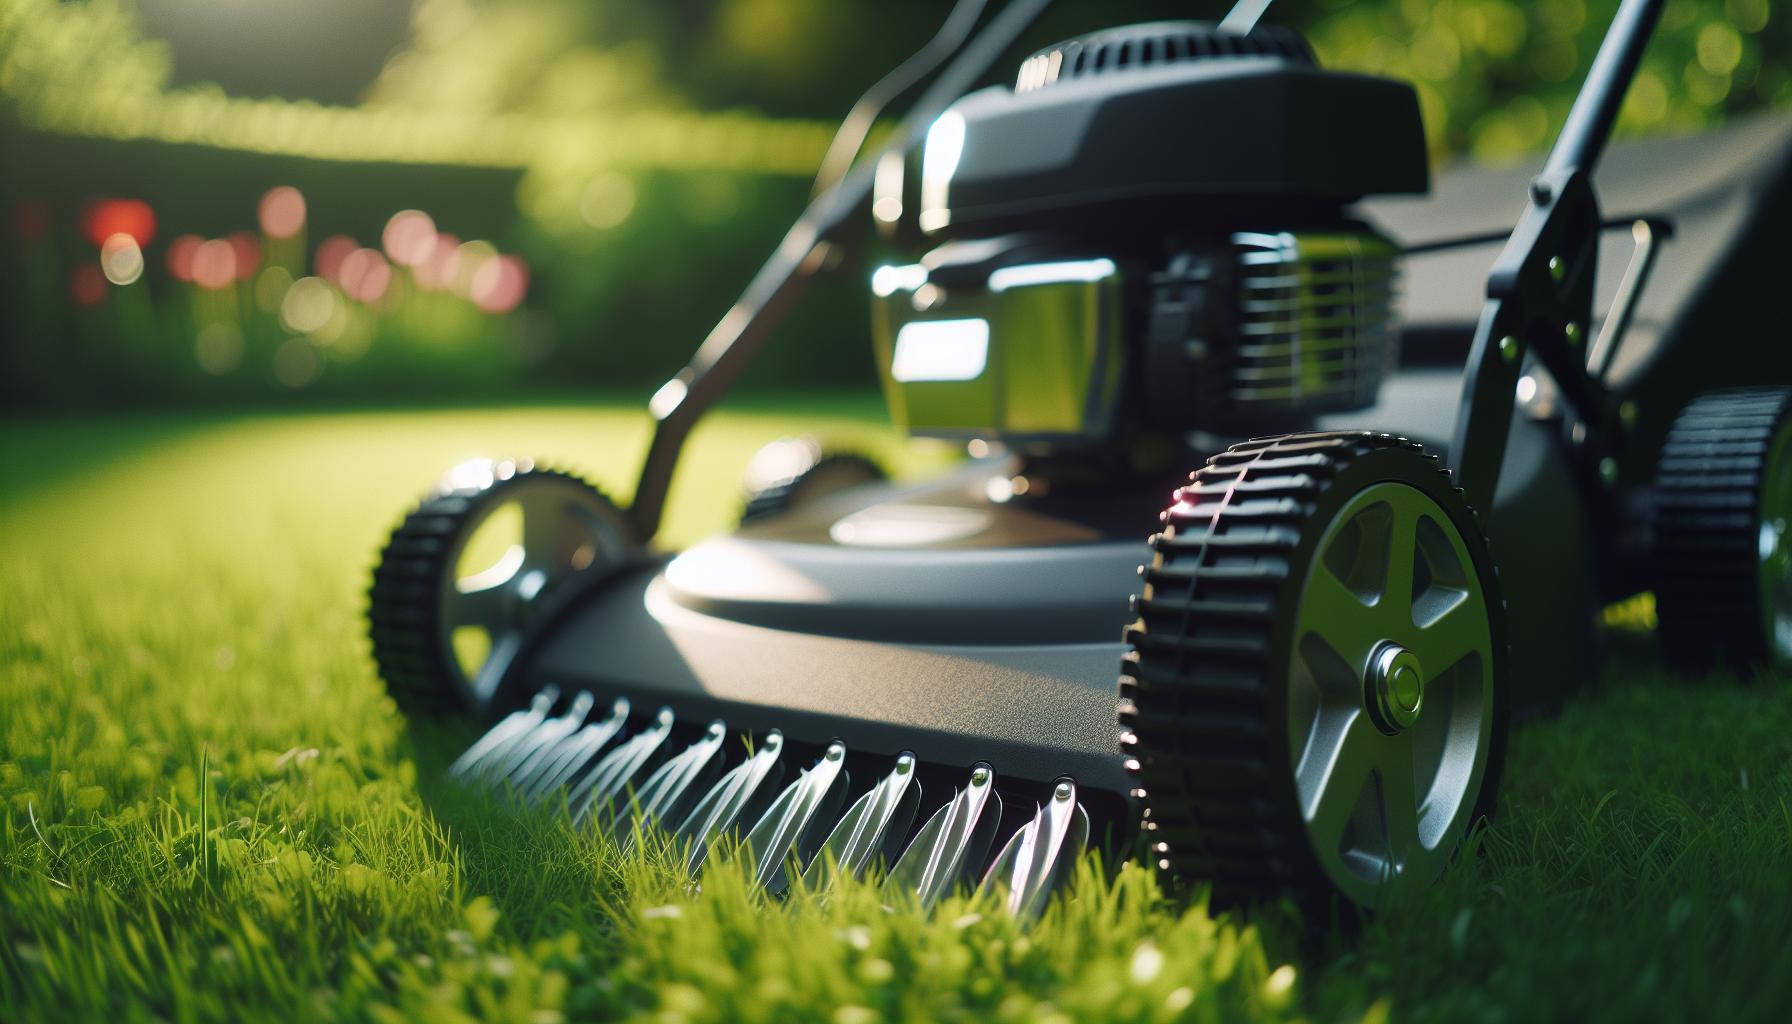
Enhancing Mowing Efficiency with Sharp Blades
Keeping your lawn mower blades sharp is essential not just for maintaining aesthetic appeal but also for promoting overall lawn health. Dull blades tear rather than cut the grass, leading to ragged edges that can create entry points for diseases and pests. This can result in a lawn that looks uneven or unhealthy, which is not only aesthetically displeasing but can also require more frequent mowing and additional maintenance. Therefore, enhancing mowing efficiency is directly tied to the sharpness of your blades.
Regular blade sharpening is crucial; ideally, blades should be sharpened after every 20-25 hours of use. This keeps them in optimal condition and maintains their cutting effectiveness. Homeowners can achieve sharp blades through various means, including hand files, grinding wheels, or professional sharpening services. Each method has its own benefits: hand files allow for precise control and are cost-effective, while grinding wheels are faster for those who prefer a quicker approach. Regardless of the method chosen, ensuring the correct angle on the blade edge is vital for effective cutting.
Another aspect of mowing efficiency involves the proper alignment of the blades. Misaligned blades can lead to uneven cutting and increased wear on the mower, resulting in decreased performance and a higher likelihood of costly repairs. When installing new blades, always check that they are positioned correctly according to the manufacturer’s specifications. It’s also beneficial to regularly inspect the condition of the blade mounting hardware to prevent vibrations that can lead to further misalignment or damage.
In addition to maintaining sharp blades, consider optimizing your mowing technique. Mowing when the grass is dry not only allows for a cleaner cut but also protects the mower’s engine from overworking in wet conditions. Additionally, varying your mowing patterns can prevent soil compaction and evenly distribute wear on the lawn. By being proactive with blade maintenance and employing efficient mowing techniques, you can ensure that your lawn remains healthy and vibrant, ultimately reducing the effort required to keep it in top shape.
Upgrading to Specialty Blades for a Healthier Lawn
Upgrading to specialty blades can significantly enhance the health of your lawn while optimizing the performance of your riding lawn mower. Traditional blades may do an adequate job of cutting grass, but specialty blades-such as mulching, high-lift, or Gator blades-are designed to provide specific benefits that can transform your mowing experience. For instance, mulching blades finely chop grass clippings and distribute them back onto the lawn, returning essential nutrients to the soil. This promotes a healthier lawn ecosystem and reduces the need for chemical fertilizers.
When considering an upgrade, it’s important to understand the unique features of each type of specialty blade. High-lift blades, for example, are engineered with a curved design that increases airflow beneath the mower deck, making them ideal for bagging clippings or cutting thick, tall grass. This design reduces clogging and allows for a cleaner cut, which is essential when trying to maintain an immaculate lawn. On the other hand, Gator blades combine features of both standard and mulching blades, ensuring a fine cut while also promoting mulching, which can lead to improved soil health.
To make the most informed choice, assess the specific needs of your lawn. Factors such as grass type, density, and moisture levels can influence the effectiveness of different blades. For instance, if you have a thick fescue lawn that requires regular mowing, investing in high-performance mulching blades may yield the best results. Conversely, if your lawn is more ornamental with lighter grass, a set of standard blades that can produce a clean-cut might suffice.
Ultimately, upgrading to specialty blades not only improves the health of your lawn but also enhances your mowing efficiency. By customizing your lawn care approach with the right blades, you can achieve a beautifully manicured lawn that thrives throughout the seasons, providing both aesthetic pleasure and a healthy environment for your grass to flourish.
Faq
Q: How often should I replace the blades on my riding lawn mower?
A: You should replace the blades on your riding lawn mower at least once a year, or more frequently if you notice signs of wear or damage. Factors such as mowing frequency and the type of grass can also influence the ideal replacement schedule. For specifics on maintenance, check the “Signs It’s Time to Replace Your Lawn Mower Blade” section in the article.
Q: What are the signs that indicate I need to sharpen my lawn mower blades?
A: If your lawn mower is tearing the grass instead of cutting it cleanly, or if you notice a ragged edge on the grass after mowing, it’s time to sharpen the blades. Regular checks can ensure optimal lawn health as discussed in “Enhancing Mowing Efficiency with Sharp Blades.”
Q: Can I use any blade on my riding lawn mower, or do I need a specific type?
A: You need to use blades that are specifically designed for your model of riding lawn mower. It’s essential to refer to your owner’s manual or consult the manufacturer to find compatible options. For details on different kinds of blades, see “Understanding Different Lawn Mower Blade Types.”
Q: How can I safely dispose of old lawn mower blades?
A: To safely dispose of old lawn mower blades, wrap them in newspaper or a similar material and take them to a local recycling facility that accepts metal. This ensures safety and is eco-friendly. For more on eco-friendly practices, refer to the “Eco-Friendly Options for Lawn Mower Blades” section.
Q: What type of oil do I need to lubricate the mower blades?
A: Use a lightweight oil, such as 3-in-1 oil or machine oil, to lubricate the mower blades. Apply a thin layer on the moving parts after installation for smoother operation. Check the “How to Safely Install the New Blade” section for complete installation details.
Q: Can a dull blade harm my lawn?
A: Yes, a dull blade can tear rather than cut the grass, leading to brown tips and a stressed lawn. This promotes disease and pests. To keep your lawn healthy, regularly check and maintain blade sharpness, as mentioned in “Maintaining Your Lawn Mower Blades for Longevity.”
Q: Is it difficult to replace the blades on a riding lawn mower myself?
A: Replacing blades on a riding lawn mower can be a manageable DIY task if you follow the proper steps and safety protocols. If you follow the “Step-by-Step Guide to Removing the Old Blade” and “How to Safely Install the New Blade,” you can successfully complete this task yourself.
Q: What tools do I need to replace the blades on my riding lawn mower?
A: Essential tools for replacing riding lawn mower blades include gloves, a socket wrench, and potentially a blade removal tool for greater leverage. For a complete list, refer to the “Essential Tools for Blade Replacement” section of the article.
Insights and Conclusions
Congratulations on mastering the process of replacing the blade on your riding lawn mower! By following this DIY guide, you’ve not only enhanced your mower’s performance but also ensured a safer and more efficient lawn care routine. Don’t let worn-out blades hinder your mowing-take action now and enjoy a well-groomed yard.
For more tips on maintaining your mower, check out our articles on [seasonal mower care] and [choosing the right mower accessories]. If you have any questions or want to share your experience, feel free to leave a comment below or connect with us on social media. Ready to dive deeper? Sign up for our newsletter for exclusive insights and offers, or explore our product pages for premium mower parts. Your lawn deserves the best!