
Did you know that a faulty lawn mower coil can be the difference between a well-manicured yard and a frustrating mowing experience? The coil is a crucial component of your mower’s ignition system, and when it’s not functioning properly, the engine can sputter, misfire, or refuse to start altogether. Understanding how to test your lawn mower coil is essential for any DIY enthusiast or homeowner looking to save time and money on repairs. By diagnosing coil issues early, you can keep your mower running smoothly and extend its lifespan. In this guide, we will walk you through effective techniques for testing your lawn mower coil, using simple tools like a multimeter, so you can confidently tackle any ignition problems. Get ready to empower yourself with the knowledge to maintain your mower and enhance your outdoor experience!
How a Lawn Mower Coil Works: Essential Basics
The ignition coil is a vital component of a lawn mower’s ignition system, transforming the battery’s low voltage into the high voltage necessary to create a spark at the spark plug. This process is fundamental for the engine to ignite the fuel-air mixture, enabling the mower to start and run smoothly. Essentially, the coil consists of two windings: the primary and secondary coils. When current flows through the primary winding, it generates a magnetic field. Once the engine’s flywheel rotates and the coil’s interruptor opens, this magnetic field collapses, triggering a high-voltage surge in the secondary winding that is then sent to the spark plug.
Understanding how the coil works is crucial for diagnosing issues that might arise. A well-functioning coil not only generates sufficient voltage but also does so consistently. Factors such as age, environmental exposure, and wear can affect its performance. When a coil operates inefficiently, you might experience issues like hard starting, misfires, or a complete failure to start. Familiarizing oneself with these basics can significantly ease troubleshooting efforts when problems occur, saving time and preventing unnecessary damage to the engine.
It’s also essential to keep in mind that while the ignition coil is a robust component, it is not immune to failure. Symptoms of a faulty coil can manifest in various ways, including poor engine performance and unusual sounds during operation. Regular maintenance checks can help catch potential problems early. For instance, examining the connections and ensuring they are secure can prevent misfires that may initially be attributed to a coil failure.
In summary, the ignition coil plays an essential role in the lawn mower’s operation, converting low voltage to high voltage for spark generation. By understanding its functioning, common issues, and symptoms of failure, you can effectively manage maintenance and ensure your mower runs efficiently for seasons to come.
Identifying Signs of a Faulty Coil
A lawn mower coil is a critical component that can greatly influence the performance of your machine. is essential to maintaining a healthy lawn mower. Symptoms may vary, but certain indicators commonly point to coil issues. If you notice that your mower is starting harder than usual, stalling unexpectedly, or experiencing misfires while running, these could be direct signals that the ignition coil is failing to operate effectively.
One of the most apparent signs of coil trouble is irregular spark generation. If you experience frequent engine misfires or if your spark plug appears fouled or burnt, it’s likely that the coil isn’t delivering consistent voltage. Similarly, a noticeable drop in engine power or poor acceleration can indicate that the coil is struggling to ignite the air-fuel mixture correctly. Always keep an eye out for these performance-related issues, as they can save you time and reduce lengthy troubleshooting sessions.
Moreover, physical signs can also provide clues about coil health. Look for corrosion or physical damage to the coil and its connectors, as these factors can impede performance and lead to electrical failures. A malfunctioning coil may produce excessive heat, which can cause surrounding components to deteriorate prematurely. Regular visual inspections can help you catch these signs early, allowing for timely repairs and avoiding further damage.
Finally, a simple test can help confirm suspicions of a faulty coil. If you suspect coil issues but cannot find any visible signs, using a spark tester can help. By checking if a strong spark is produced when the engine is cranked, you can quickly determine if the coil is generating sufficient voltage. This straightforward method can prevent costly repairs and ensure your lawn mower operates at its best.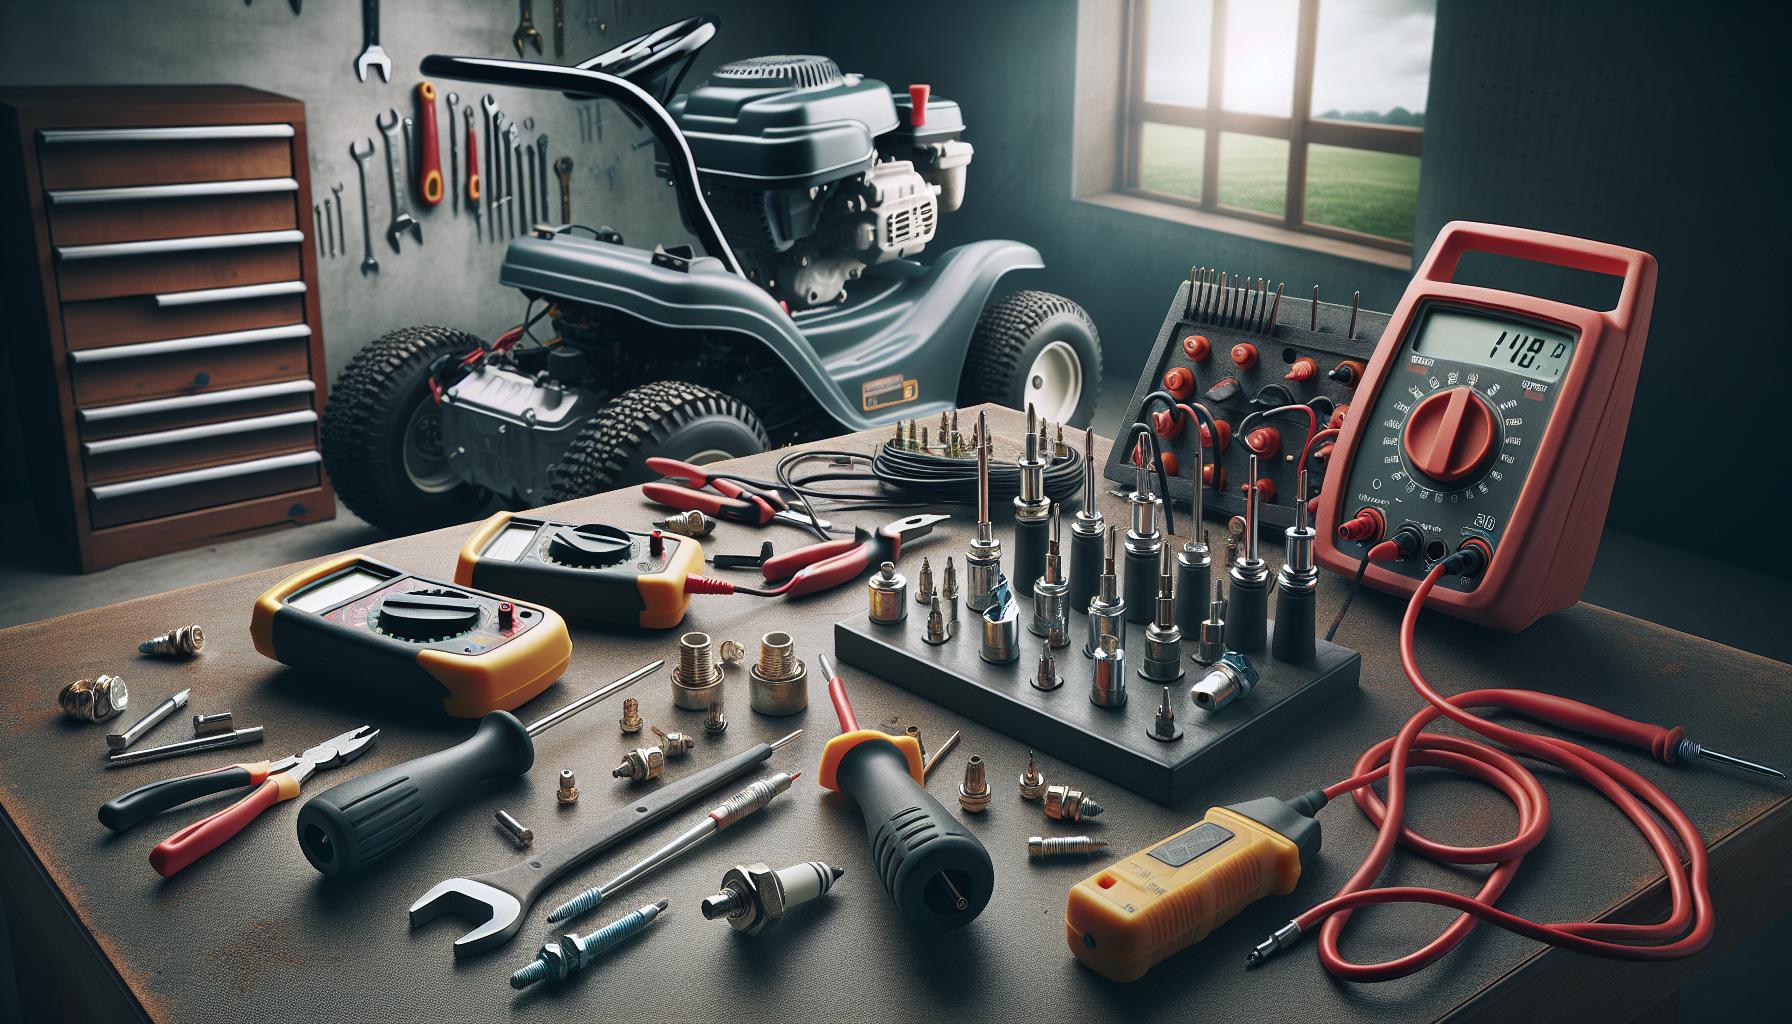
Tools Needed to Test Your Lawn Mower Coil
To effectively assess the performance of your lawn mower’s ignition coil, having the right tools on hand can make all the difference. Engaging in this diagnostic process not only helps troubleshoot issues but also enhances your understanding of how your equipment operates. The right tools will streamline the process and enable you to pinpoint problems with precision and confidence.
First on the list is a digital multimeter. This invaluable tool measures voltage, resistance, and continuity, allowing you to conduct comprehensive tests on the coil. When testing the ignition coil, you’ll want to check for appropriate resistance levels as specified by the manufacturer. This insight can quickly indicate whether your coil is functioning within normal parameters or if a replacement is necessary. Additionally, a spark tester is essential for verifying that the ignition coil is producing a strong enough spark. Simply connect the tester to the spark plug lead and observe if a healthy spark is generated when the engine cranks.
For convenience and safety, having screwdrivers and wrenches is vital for removing and securing components during testing. Depending on your mower model, you might require specific sizes to gain access to the ignition coil. Furthermore, using safety glasses and gloves can protect you from any electrical shocks or debris while you work on your lawn mower.
Lastly, a basic set of hand tools-like pliers and a socket set-will assist in dismantling parts as needed for inspection. Often, physical damage or corrosion at connections can significantly affect coil performance, so these tools will help you examine the coil and its wiring thoroughly. Whether you’re a seasoned professional or a backyard mechanic, having these tools readily accessible simplifies the process, allowing you to efficiently troubleshoot and maintain your lawn mower’s ignition system.
Step-by-Step Guide: Testing Your Lawn Mower Coil
Before diving into the specifics of testing your lawn mower’s ignition coil, it’s essential to understand that a well-functioning coil is critical for delivering the spark needed to ignite the fuel-air mixture in your engine. If you suspect the ignition coil is faulty, the following straightforward steps will guide you through the testing process, helping ensure that your mower runs smoothly and efficiently.
Begin by ensuring safety first: disconnect the spark plug wire to prevent any accidental starts during your testing process. Then, remove the ignition coil from its housing. Typically, this involves unscrewing it from the engine. Once the coil is accessible, use your digital multimeter to measure its resistance. Set the multimeter to the ohm setting, and connect the probes to the terminals of the coil. Consult your lawn mower’s manual for the specified resistance values. If the readings are outside the acceptable range, the coil is likely defective.
To confirm the coil’s functionality, utilize the spark tester. Reconnect the coil to the spark plug and insert the spark tester between the coil and the spark plug. While a helper turns the engine over, observe the tester for a spark. A bright and consistent spark indicates that the ignition coil is functioning correctly; if there’s no spark or if it’s weak, this further confirms that the coil may need replacement. For a more hands-on test, some users recommend the ‘trial by fire’ method, where the mower is started while the spark plug is grounded to metal; this approach, however, should be done with caution due to safety concerns.
If the coil tests out okay but you’re still encountering starting issues, it could be worth checking other components, like the safety switch, wiring, and connections. Corrosion or damage can sometimes create a circuit disturbance that masks the coil’s performance. Regular maintenance, including keeping connections clean and ensuring proper grounding, can also profoundly impact the lifespan and efficiency of your ignition coil.
Whether you are a seasoned DIYer or a novice, following these steps can help you quickly diagnose and resolve ignition coil issues, ensuring your trusty lawn mower remains in top working condition.
Common Coil Issues and Their Symptoms
A lawn mower’s ignition coil is essential for generating the spark necessary to ignite the fuel-air mixture, and without a properly functioning coil, your mower may refuse to start. Understanding the common issues related to the ignition coil can empower you to troubleshoot problems effectively. One of the primary symptoms to observe is the inability of the mower to start despite a new spark plug. If you’re experiencing this, there’s a strong likelihood that the coil is delivering a weak or no spark.
Another telltale sign of coil trouble is inconsistent engine performance. If your mower starts but frequently sputters or stalls, it could indicate that the ignition coil is failing to provide a consistent spark. Such issues often manifest during operation under load, where the engine struggles to maintain power. Pay attention to how the mower behaves during heavy grass cutting; a coil that is starting to fail may show adverse symptoms here as well.
Physical inspection can also reveal issues with the ignition coil. Look for signs of corrosion, burn marks, or physical damage on the coil itself and its connections. These indicators could suggest electrical failure, potentially impacting the coil’s ability to generate a strong spark. In extreme cases, the ignition coil might produce an audible clicking or buzzing sound when trying to start; this can signify that the coil is attempting to operate but is unable to do so effectively.
For those who enjoy working on their own lawn equipment, recognizing these symptoms early on can prevent further damage and costly repairs. Maintaining the coil’s cleanliness and ensuring a secure connection can significantly extend its lifespan. Regular checks for wear and tear will go a long way in keeping your lawn mower in excellent working condition, ensuring a sharp lawn and a well-functioning machine.
How to Diagnose Electrical Problems in Lawn Mowers
Diagnosing electrical issues in lawn mowers can often seem daunting, but with the right approach and tools, you can pinpoint problems efficiently. When your mower displays signs of failure-such as no spark, sputtering, or stalling-understanding the electrical components involved is vital. The ignition coil plays a crucial role in generating the spark that ignites the fuel-air mixture, so when issues arise, a systematic diagnosis is necessary.
Start by visualizing the electrical flow within the mower. The ignition coil receives power from the battery and transforms it into a high-voltage spark. If your mower isn’t starting, it’s essential to inspect the entire ignition system, including the coil, spark plug, and wiring. Look for loose connections, frayed wires, or corroded terminals that could impede electrical flow. A simple visual inspection can reveal much about the health of your ignition system.
Next, you can utilize a multimeter to assess the ignition coil’s condition. To test, first ensure that the mower is off and safely disconnected from any power source. Measure resistance across the coil’s terminals: a significantly higher or lower reading than the manufacturer’s specified range can indicate a fault. Additionally, continuity tests can help verify that electricity flows properly through the wiring and connections. If there are breaks or inconsistencies in the flow, further diagnostics will be necessary to identify the specific component failing in the system.
Maintaining a proactive approach to electrical systems not only extends the life of your mower but can also prevent costly repairs down the line. Regular checks on the ignition coil and its connections, cleaning off any dirt or corrosion, and promptly addressing any overheating signs will go a long way. If you continually experience issues despite thorough diagnostics, it may be time to consider professional assistance to ensure a detailed examination of the entire electrical system.
Understanding Resistance and Continuity Tests
Understanding the principles of resistance and continuity tests is crucial for diagnosing issues with a lawn mower’s ignition coil. These tests help reveal whether the coil is functioning properly and can provide insights into potential electrical faults within the entire ignition system. By measuring resistance and checking for continuity, you can determine the health of your lawn mower’s electrical components and ensure that the spark plug is receiving the necessary voltage to ignite the fuel-air mixture.
To perform a resistance test, you’ll need a multimeter set to the appropriate ohms range. Begin with the mower powered off and ensure it’s disconnected from any power source. With the multimeter probes connected to the ignition coil terminals, a typical reading based on the manufacturer’s specifications will indicate that the coil is functioning correctly. If you find a reading significantly higher or lower than recommended, it’s a strong sign that the coil may be faulty. For example, a reading of infinite resistance often means a break in the winding, while very low resistance could indicate a short circuit.
Continuity tests complement resistance measurements by checking whether electrical current can flow through the components as intended. To perform this test, set your multimeter to the continuity setting. Connect the probes across the coil terminals or the disconnected wire leads. If the meter beeps or shows continuity, that part of the circuit is intact. However, if there’s no beep, this could indicate a disconnection somewhere in the wiring, suggesting that it’s necessary to inspect the wiring harness, connections, and even the ignition switch for additional faults.
By routinely conducting these tests, you can preemptively identify issues before they lead to significant mower malfunction. Resistance and continuity checks not only ensure the ignition coil is in good condition but also foster a deeper understanding of your lawn mower’s overall electrical system. Keep in mind that while DIY diagnostics are valuable, always refer to the manufacturer’s service manual for specific resistance values and guidelines applicable to your particular model. Regular maintenance and testing can extend the lifespan of your mower and enhance its performance.
Replacing a Faulty Lawn Mower Coil: A How-To
If you find yourself with a lawn mower that fails to start or shows weak performance, the ignition coil may be to blame. A faulty coil can disrupt the flow of electricity to the spark plug, preventing your engine from firing properly. Fortunately, replacing a bad lawn mower coil is a manageable task that you can accomplish with a few tools and some careful steps. Understanding the process can save you both time and money, allowing you to get back to maintaining your lawn.
Begin by gathering the necessary tools and materials. You will need a replacement ignition coil specific to your lawn mower model, a socket set, a screwdriver, and potentially some zip ties or electrical tape for securing connections. Make sure to also have a multimeter handy for any additional testing you might want to perform on the electrical system after installation.
Start by disconnecting the battery or removing any power source to ensure safety. Next, access the ignition coil, which is typically located near the engine under the flywheel cover. Use your socket set to remove any screws or fasteners securing the cover. Once exposed, carefully disconnect the wires from the old ignition coil. It’s a good practice to take a picture or label the wires to ensure you reconnect them correctly later. If your model has a gasket, check its condition to prevent future leaks; replace it if necessary.
After you’ve removed the old coil, position the new one in place and connect the wires according to the configurations noted earlier. Before finalizing the assembly, use your multimeter to check the resistance of the new coil and ensure it meets the manufacturer’s specifications. Once you’re satisfied, reattach the flywheel cover, reconnect the battery, and start the mower to test your repair. If all goes well, you should experience improved engine performance and reliability.
Finally, it’s essential to periodically check the ignition system, including the coil, to catch any potential issues early on. Regular maintenance extends the life of your lawn mower and ensures it operates efficiently. By taking the initiative to replace a faulty ignition coil, you’re not just fixing a problem; you’re enhancing your overall lawn care experience.
Maintenance Tips to Extend Coil Lifespan
Maintaining your lawn mower’s ignition coil is crucial for optimal performance and longevity. A well-cared-for ignition system can prevent costly repairs and unexpected breakdowns. Regular upkeep not only extends the life of the coil but also ensures that your mower runs efficiently, providing you with a clean and reliable cut throughout the mowing season.
One effective strategy to enhance the lifespan of your ignition coil is to perform regular inspections and cleaning. Accumulation of dirt, debris, and moisture can lead to corrosion, which can impede the coil’s functionality. Make it a habit to check the coil and its connections before each mowing season. A simple wipe with a clean cloth and the occasional application of dielectric grease on the wire connections can help protect against moisture and corrosion. Always ensure that the coil is securely mounted and free of any signs of wear or damage.
Additionally, paying attention to your mower’s overall electrical system can preempt potential coil problems. Use a multimeter to periodically check the electrical connections and continuity in the wiring leading to the coil. An irregular voltage supply can stress the coil and reduce its lifespan. If you notice any frayed wires or loose connections, address these issues promptly to avoid overloading the ignition coil.
Lastly, consider the importance of using high-quality fuel in your mower. Low-grade fuel can lead to carbon buildup and other residues that can negatively impact the ignition system. Opt for fuels with a higher octane rating, and if possible, avoid ethanol-blended fuels, as they can contribute to fuel system problems and lead to inefficient combustion, putting extra strain on the ignition components. By integrating these maintenance habits into your routine, you can significantly prolong the life of your ignition coil and maintain smooth mower operation for years to come.
When to Seek Professional Help for Coil Issues
If your lawn mower exhibits persistent ignition problems despite your best troubleshooting efforts, it may be time to consider professional help. Many users may find themselves at a crossroads: they’ve replaced spark plugs, cleaned the carburetor, and performed tests only to receive the same disappointing results-a mower that just won’t start. This scenario often signals deeper issues within the ignition system, particularly the ignition coil. Given the complexity and nuance involved, relying on a trained technician could be the most sensible way forward.
When dealing with ignition coil issues, several indicators strongly suggest the need for professional assistance. If you’ve performed basic tests-such as checking for spark at the spark plug-and found consistent failure, a skilled technician can conduct advanced diagnostics. This can include measuring the ignition coil’s primary and secondary resistance values, which requires specialized equipment like a multimeter. Additionally, if you observe signs of damage such as burns, cracks, or corrosion on the coil, these are clear indicators that replacement may be necessary and that a professional’s expertise can ensure a correct and safe installation.
Furthermore, complications can arise when the ignition coil is part of a larger system integration, such as those found in newer mowers with digital ignition systems. These setups can be particularly challenging, as they may involve unique calibration or programming. A professional mechanic, equipped with the necessary tools and diagnostic experience, can navigate these advanced systems, ensuring that your mower not only runs after repairs but runs efficiently.
Lastly, always consider your own comfort level with DIY repairs. If you find electrical systems daunting or lack the tools needed for thorough testing, seeking professional help is both practical and safer. Technicians not only guarantee proper diagnosis but also provide insights that can prevent future issues. Investing in professional maintenance may well save you time and stress in the long run, helping your mower operate at peak performance for many seasons to come.
Exploring Upgrades and Alternatives for Lawn Mower Coils
Upgrading or replacing your lawn mower’s ignition coil can significantly enhance its performance and reliability. As technology advances, there are various options available that can help increase efficiency, improve fuel consumption, and extend the life of your mower. Whether you are looking to optimize performance or simply replace a faulty component, understanding the alternatives can be beneficial.
When exploring upgrades, one might consider opting for high-performance ignition coils. These coils are designed to generate a stronger spark, which leads to more efficient combustion. Many aftermarket options can offer better conductivity and higher resistance to heat and vibration compared to standard models. This can result in smoother engine operation, quicker starts, and improved engine responsiveness. If you’re frequently working in challenging conditions or using your mower for extended periods, a high-performance coil might be especially advantageous.
For those interested in optimizing their lawn mower’s ignition system, another option to consider is a digital ignition kit. Such upgrades often allow for advanced timing adjustments and enhanced spark delivery, potentially translating into better overall performance. These kits typically integrate more sophisticated electronics and are often paired with compatible ignition coils. Furthermore, they can help mitigate issues related to fluctuating temperatures and moisture, which are common challenges in outdoor environments.
It’s also essential to evaluate whether your lawn mower may benefit from an alternative coil brand. Some manufacturers specialize in producing coils that meet or exceed OEM specifications, often at a more competitive price point. Researching customer reviews and performance data can help in selecting a reliable option that suits your mower’s specifications.
In conclusion, entails a careful consideration of performance needs, environmental conditions, and personal preferences. Making informed decisions can lead to improved mower efficiency and longevity, providing you with a reliable tool for your lawn care tasks. Remember that any upgrades should be compatible with your specific mower model to ensure optimal performance and safety.
FAQ
Q: How can I tell if my lawn mower coil is bad?
A: You can identify a faulty lawn mower coil by checking for rough engine performance, difficulty starting, or the engine cutting out during use. Additionally, testing the coil resistance with a multimeter should yield readings that align with specifications; otherwise, it may be malfunctioning.
Q: What is the recommended resistance measurement for a lawn mower ignition coil?
A: A functioning lawn mower ignition coil typically shows a resistance reading between 2.5 – 5 k ohms when tested with a multimeter on the 20 k ohms setting. Any significant deviation from this range suggests that the coil may be defective [1].
Q: What tools do I need to test a lawn mower coil?
A: To test a lawn mower coil, you need a multimeter for measuring resistance, a screwdriver for accessing the coil, and safety gear such as gloves and goggles. These tools will help you conduct a thorough and safe inspection of the ignition coil.
Q: How do I perform a continuity test on a lawn mower coil?
A: To perform a continuity test, set your multimeter to the continuity or ohm setting. Disconnect the coil leads and place the multimeter probes on the coil terminals. A continuous beep or low resistance indicates the coil is functioning; no beep means it’s faulty.
Q: When should I replace my lawn mower coil?
A: Replace your lawn mower coil if testing reveals resistance outside the specified range, if the engine starts misfiring, or if you notice symptoms like difficulty starting or power loss. Regular maintenance checks can help identify the need for a replacement early.
Q: Can I fix a lawn mower ignition coil, or do I need to replace it?
A: In many cases, a faulty lawn mower ignition coil requires replacement, as they are typically not repairable. If the coil shows signs of physical damage or if resistance testing fails, it’s best to replace it for optimal engine performance.
Q: What could cause a lawn mower coil to fail?
A: A lawn mower coil can fail due to overheating, exposure to moisture, corrosion, or aging. Regular maintenance and ensuring proper air flow can help prolong the life of the ignition coil and prevent premature failure.
Q: How can proper maintenance extend the life of my lawn mower coil?
A: To extend the life of your lawn mower coil, regularly clean the engine area, ensuring no debris obstructs air flow. Check for signs of wear or corrosion, and replace worn-out parts promptly to maintain optimal engine performance and prevent coil damage.
In Conclusion
Now that you’ve learned how to test a lawn mower coil and diagnose issues, you’re equipped to tackle common ignition problems that could be hindering your mower’s performance. Remember, a functioning coil is crucial for your engine to start smoothly and run efficiently. If you’re still facing challenges, check our detailed guides on cleaning and replacing spark plugs and troubleshooting dirty air filters for further insights.
Don’t miss out on more essential lawn care tips-subscribe to our newsletter for the latest in mower maintenance and repair guides. Your lawn deserves the best care, so take action now! Drop your questions in the comments, share your experiences, and let’s build a community of well-equipped lawn enthusiasts. For those eager to dive deeper, explore our related articles on mower troubleshooting here and find the right tools for your next project!